


Planning: I am off on my life long dream trip to England, Scotland, and Ireland. I fly out July 9, 2026 from

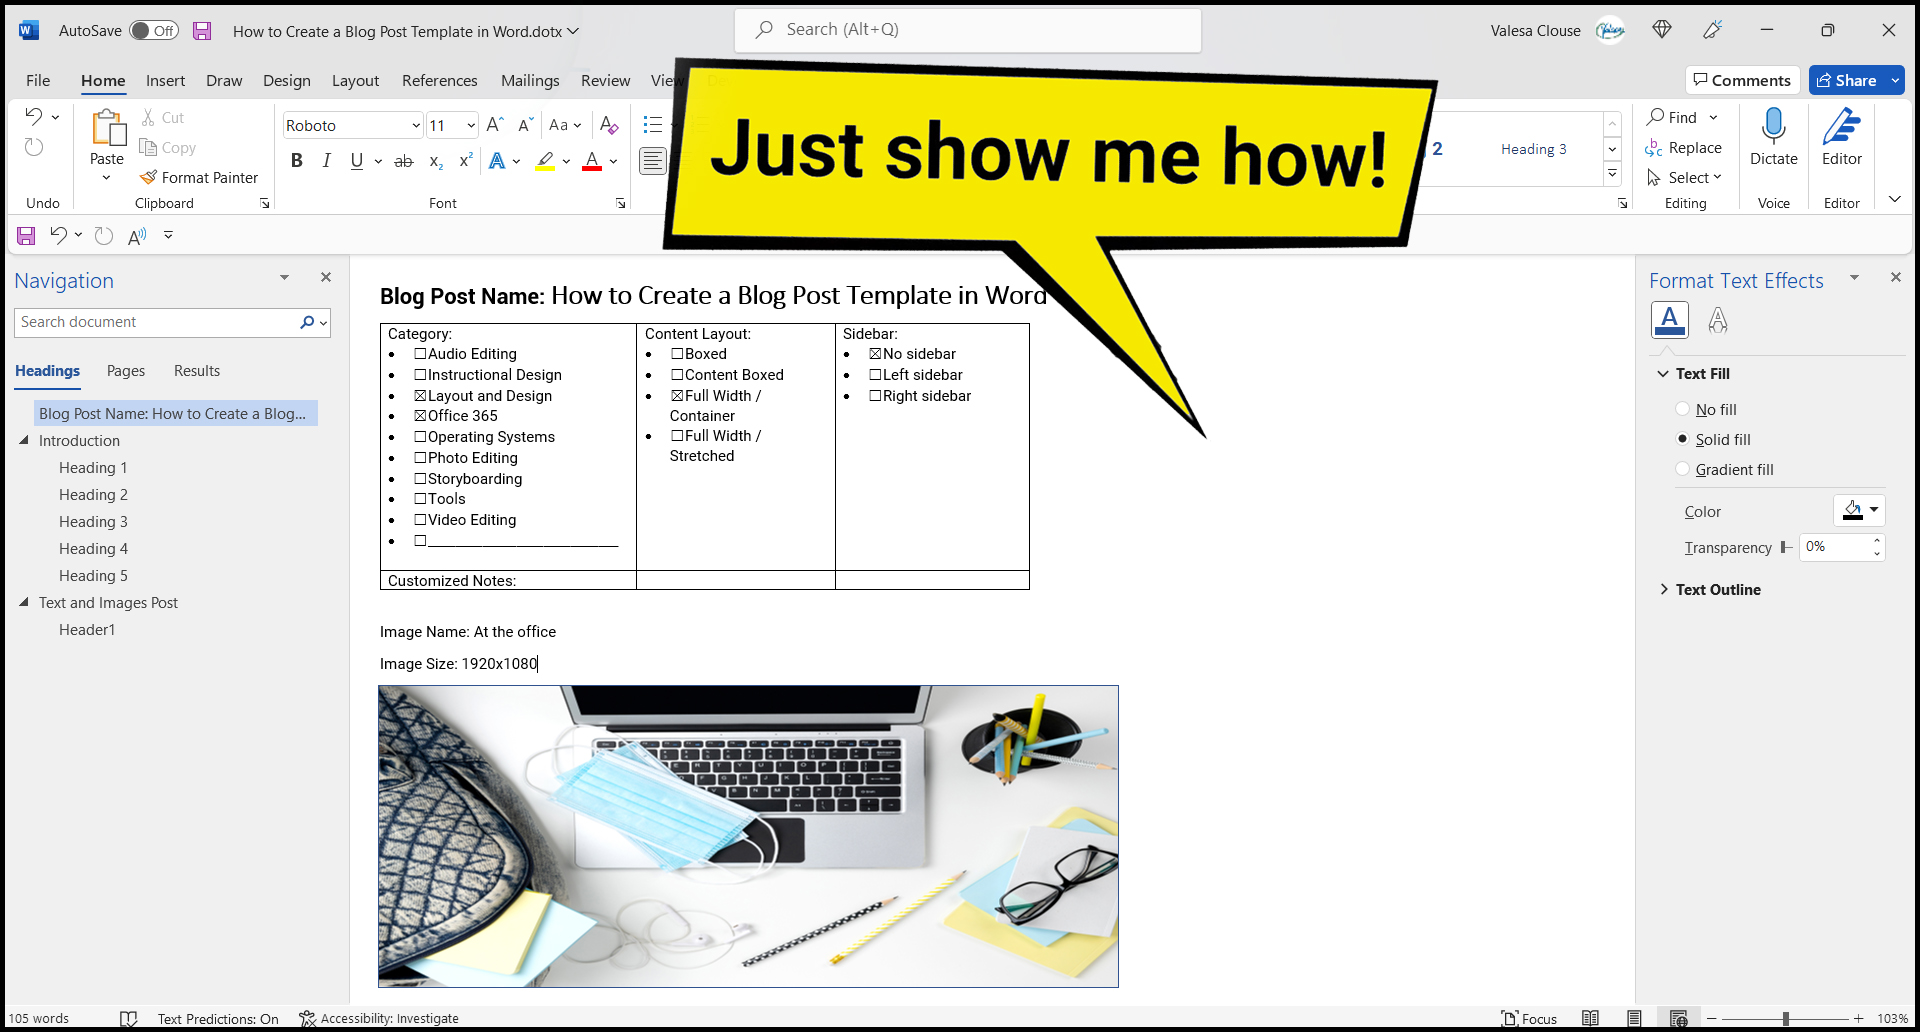
YouTube Video Just Show Me How How can I resize a bunch of photos to the same size at one time? This

You don’t have to know what every button can do before you start using Photoshop. Learn the simple basics and then build on that foundation.
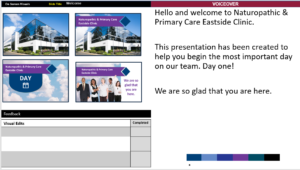
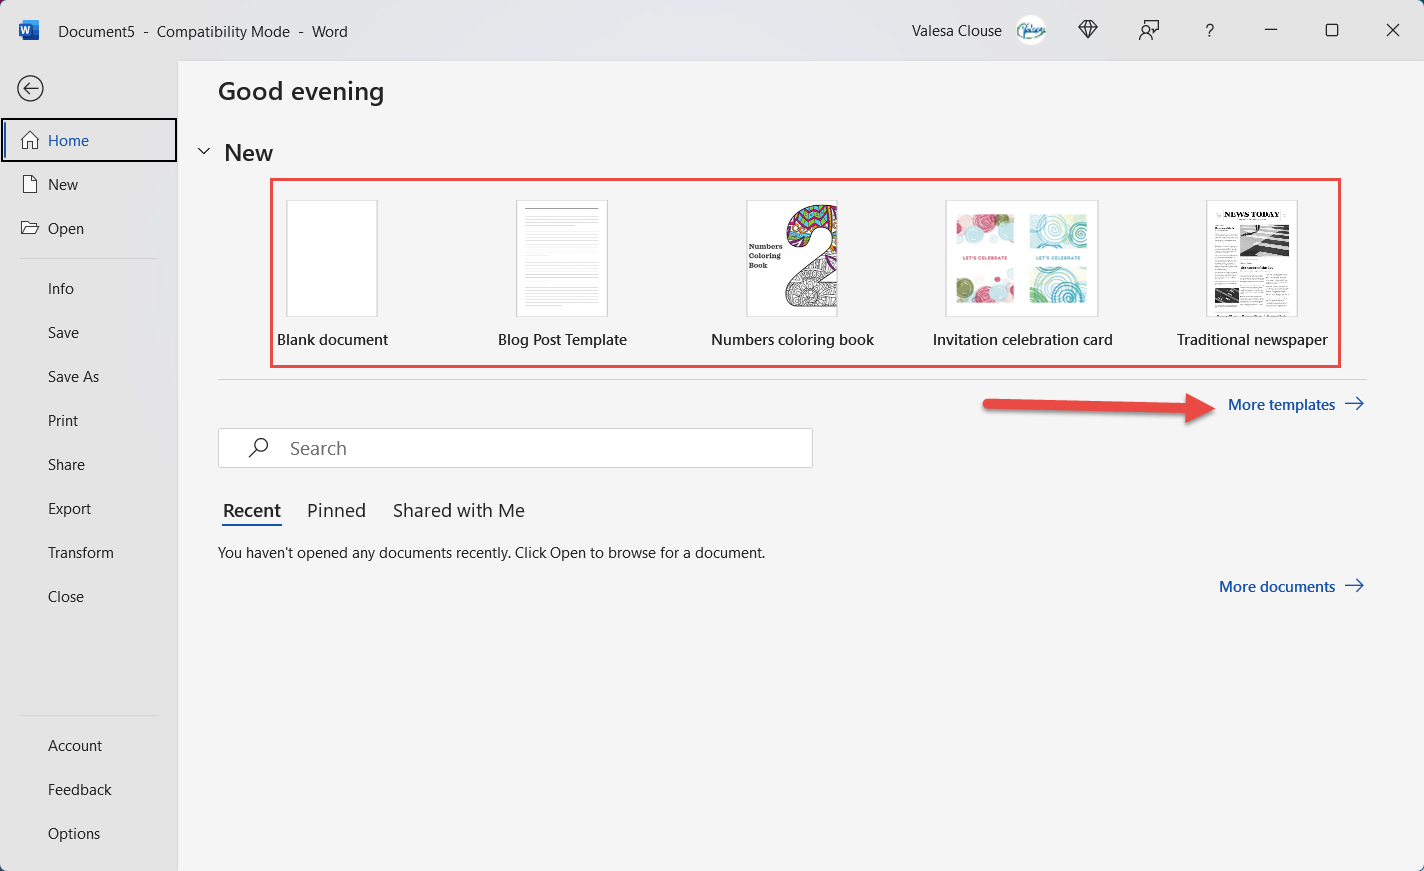
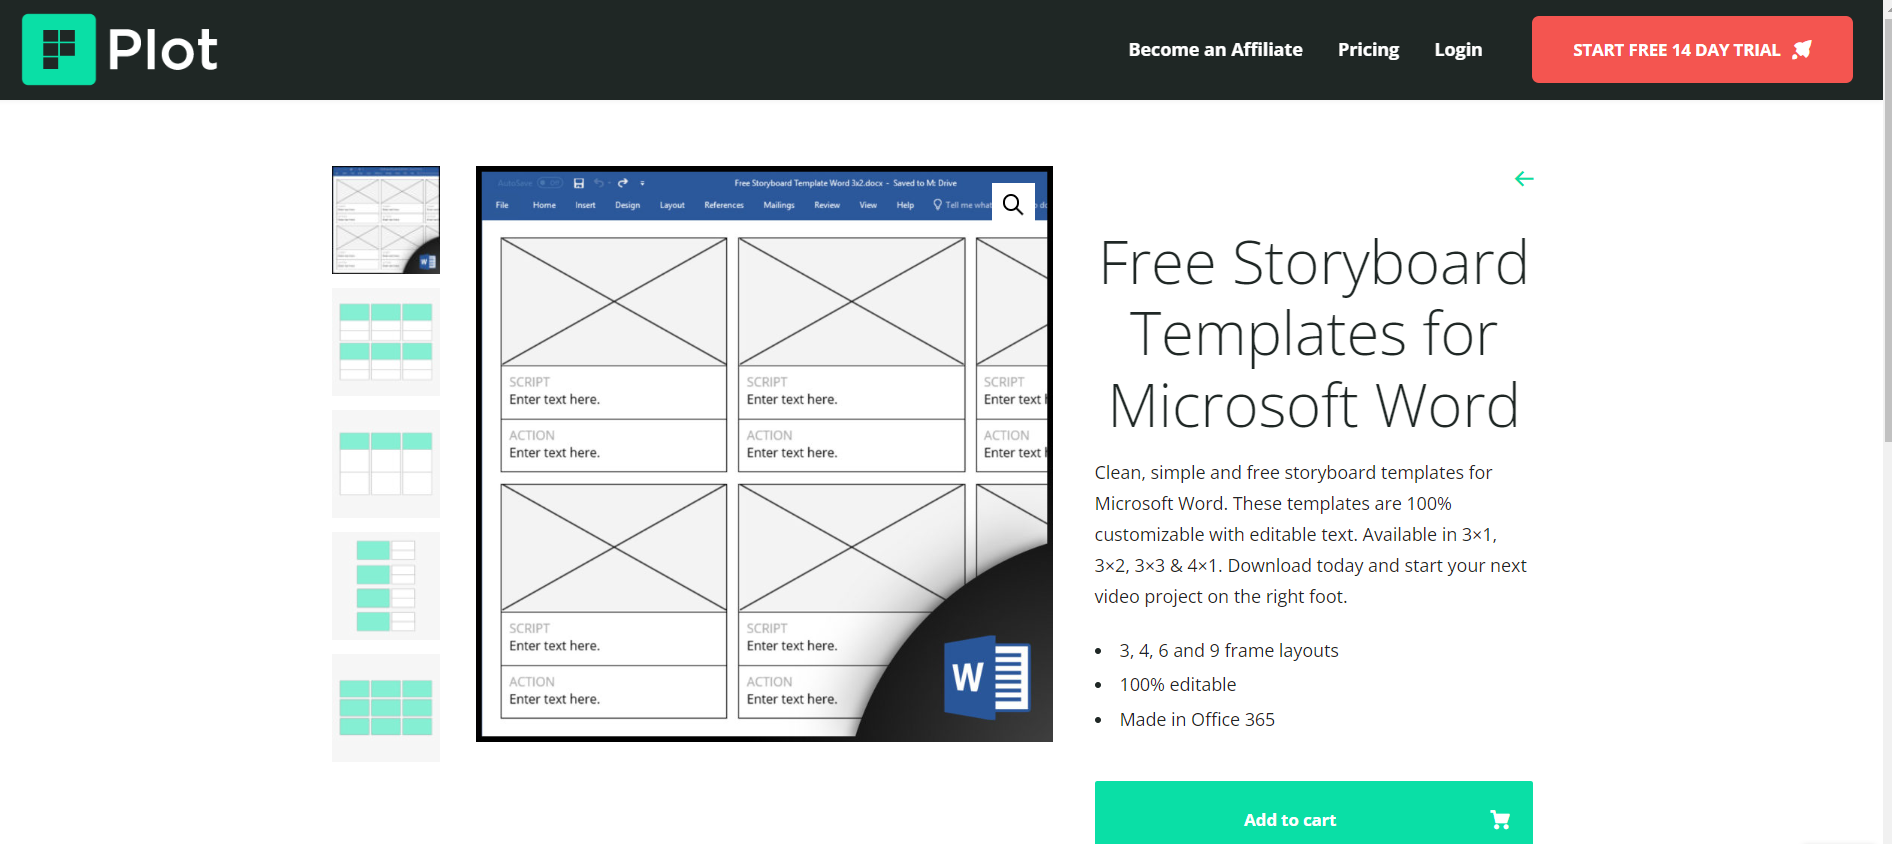
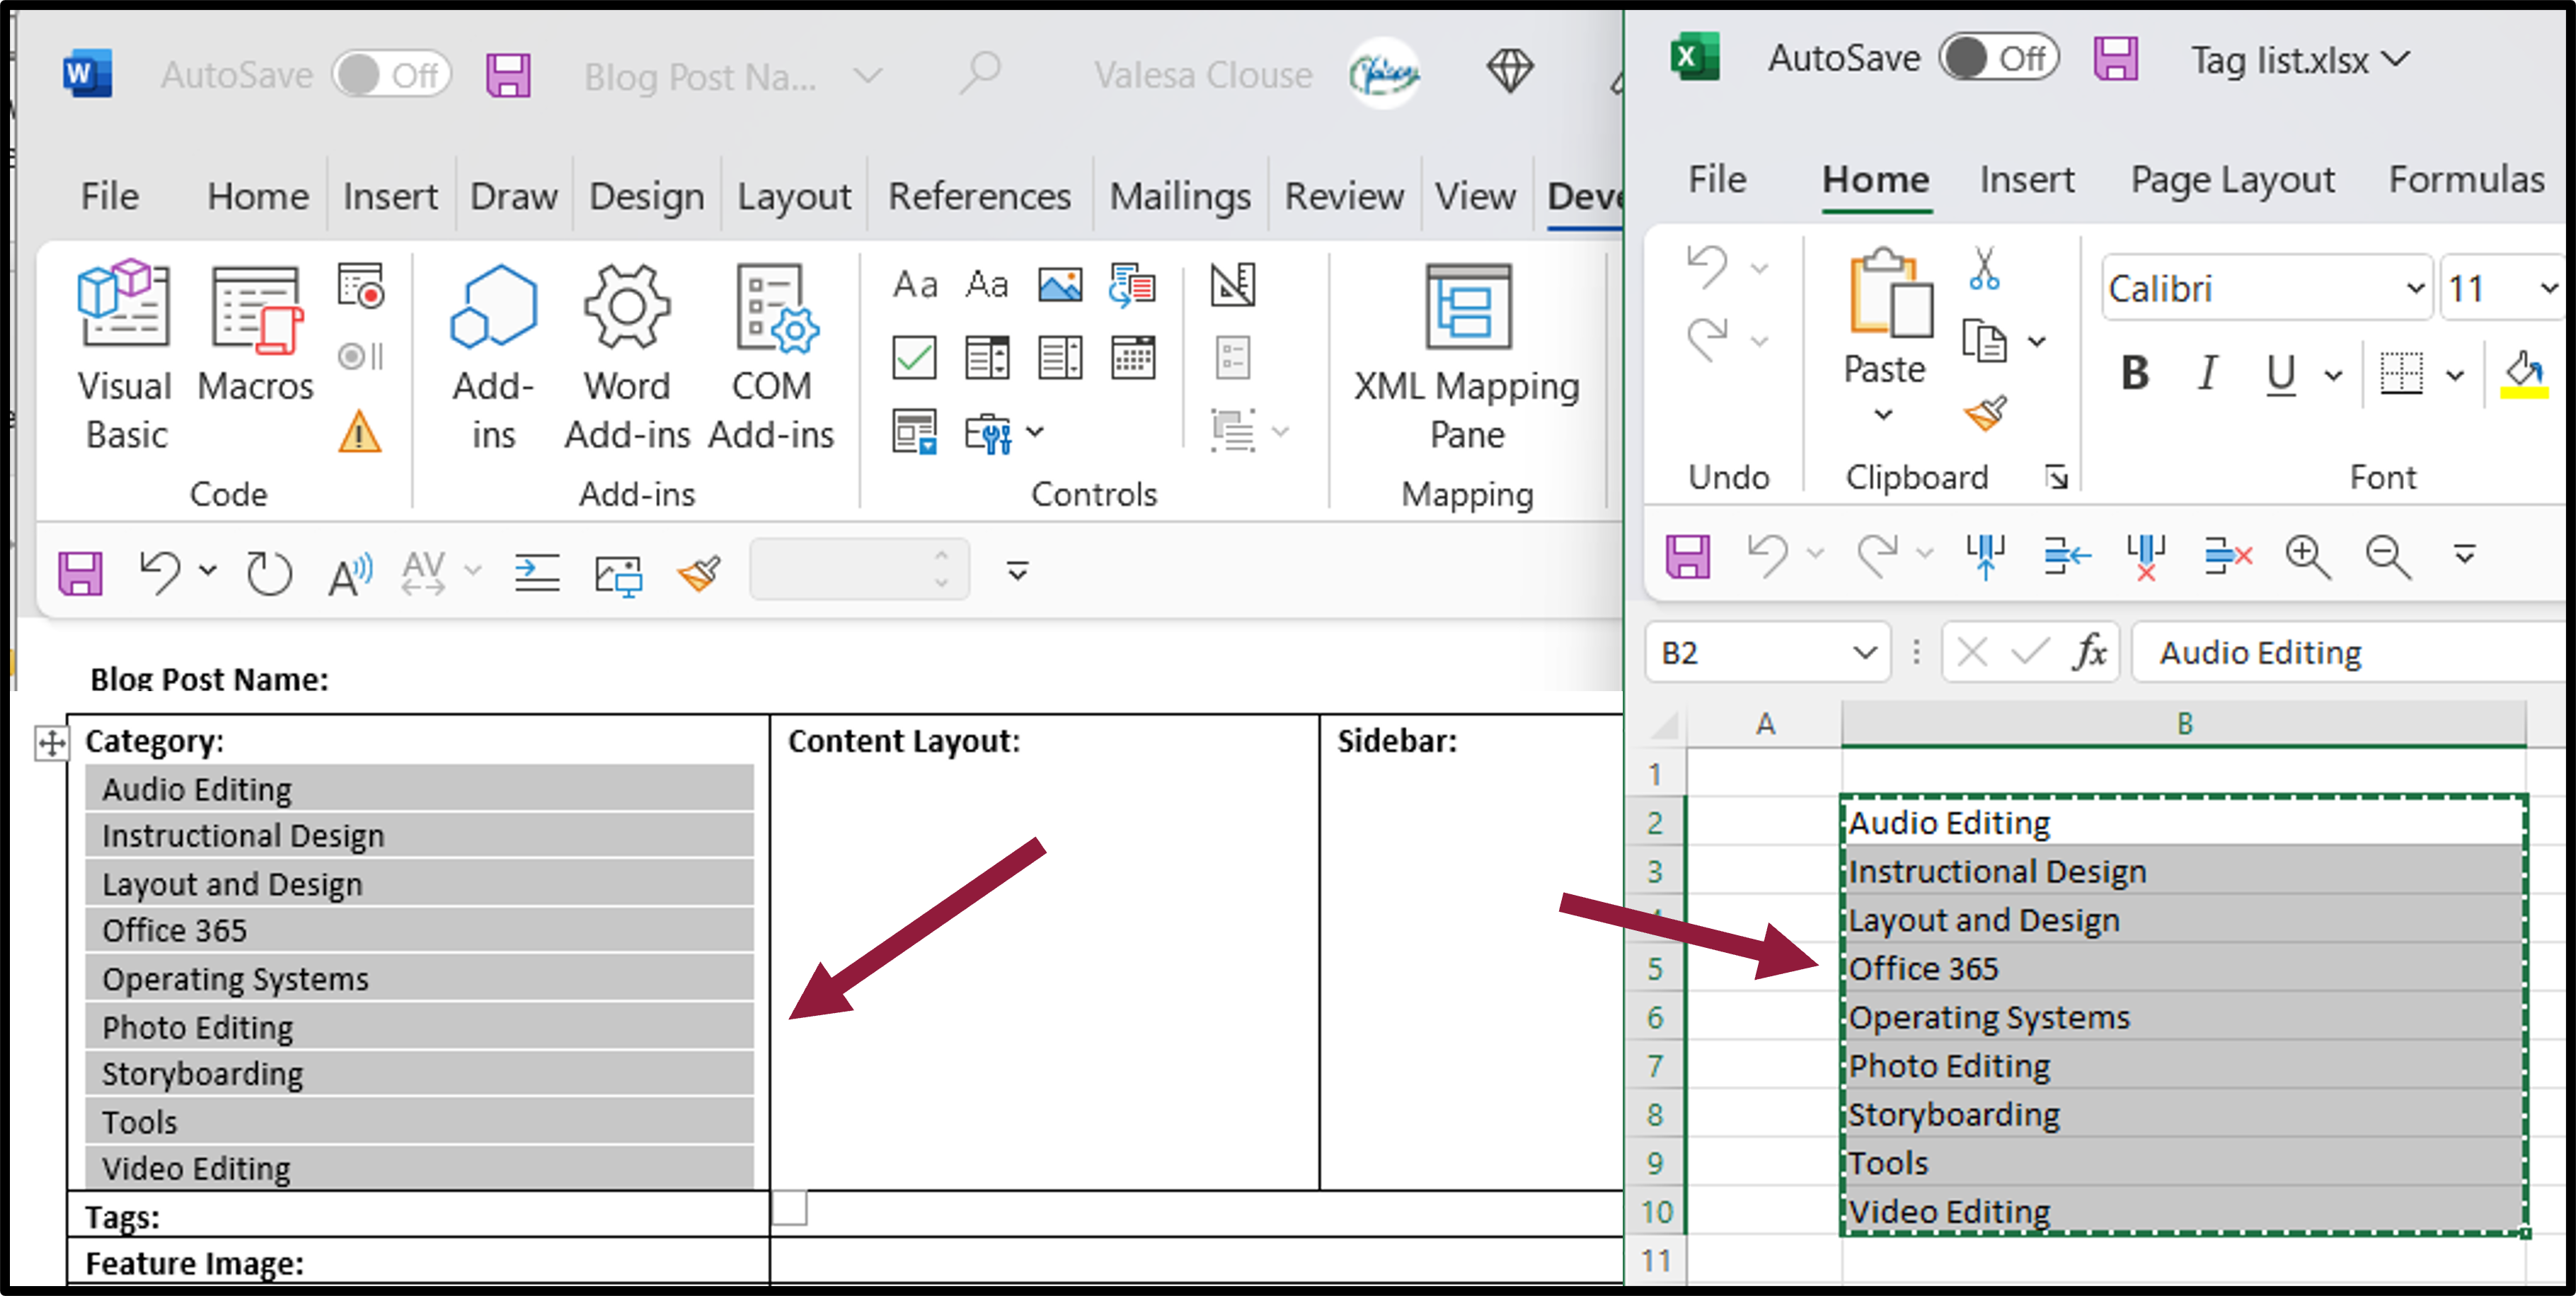
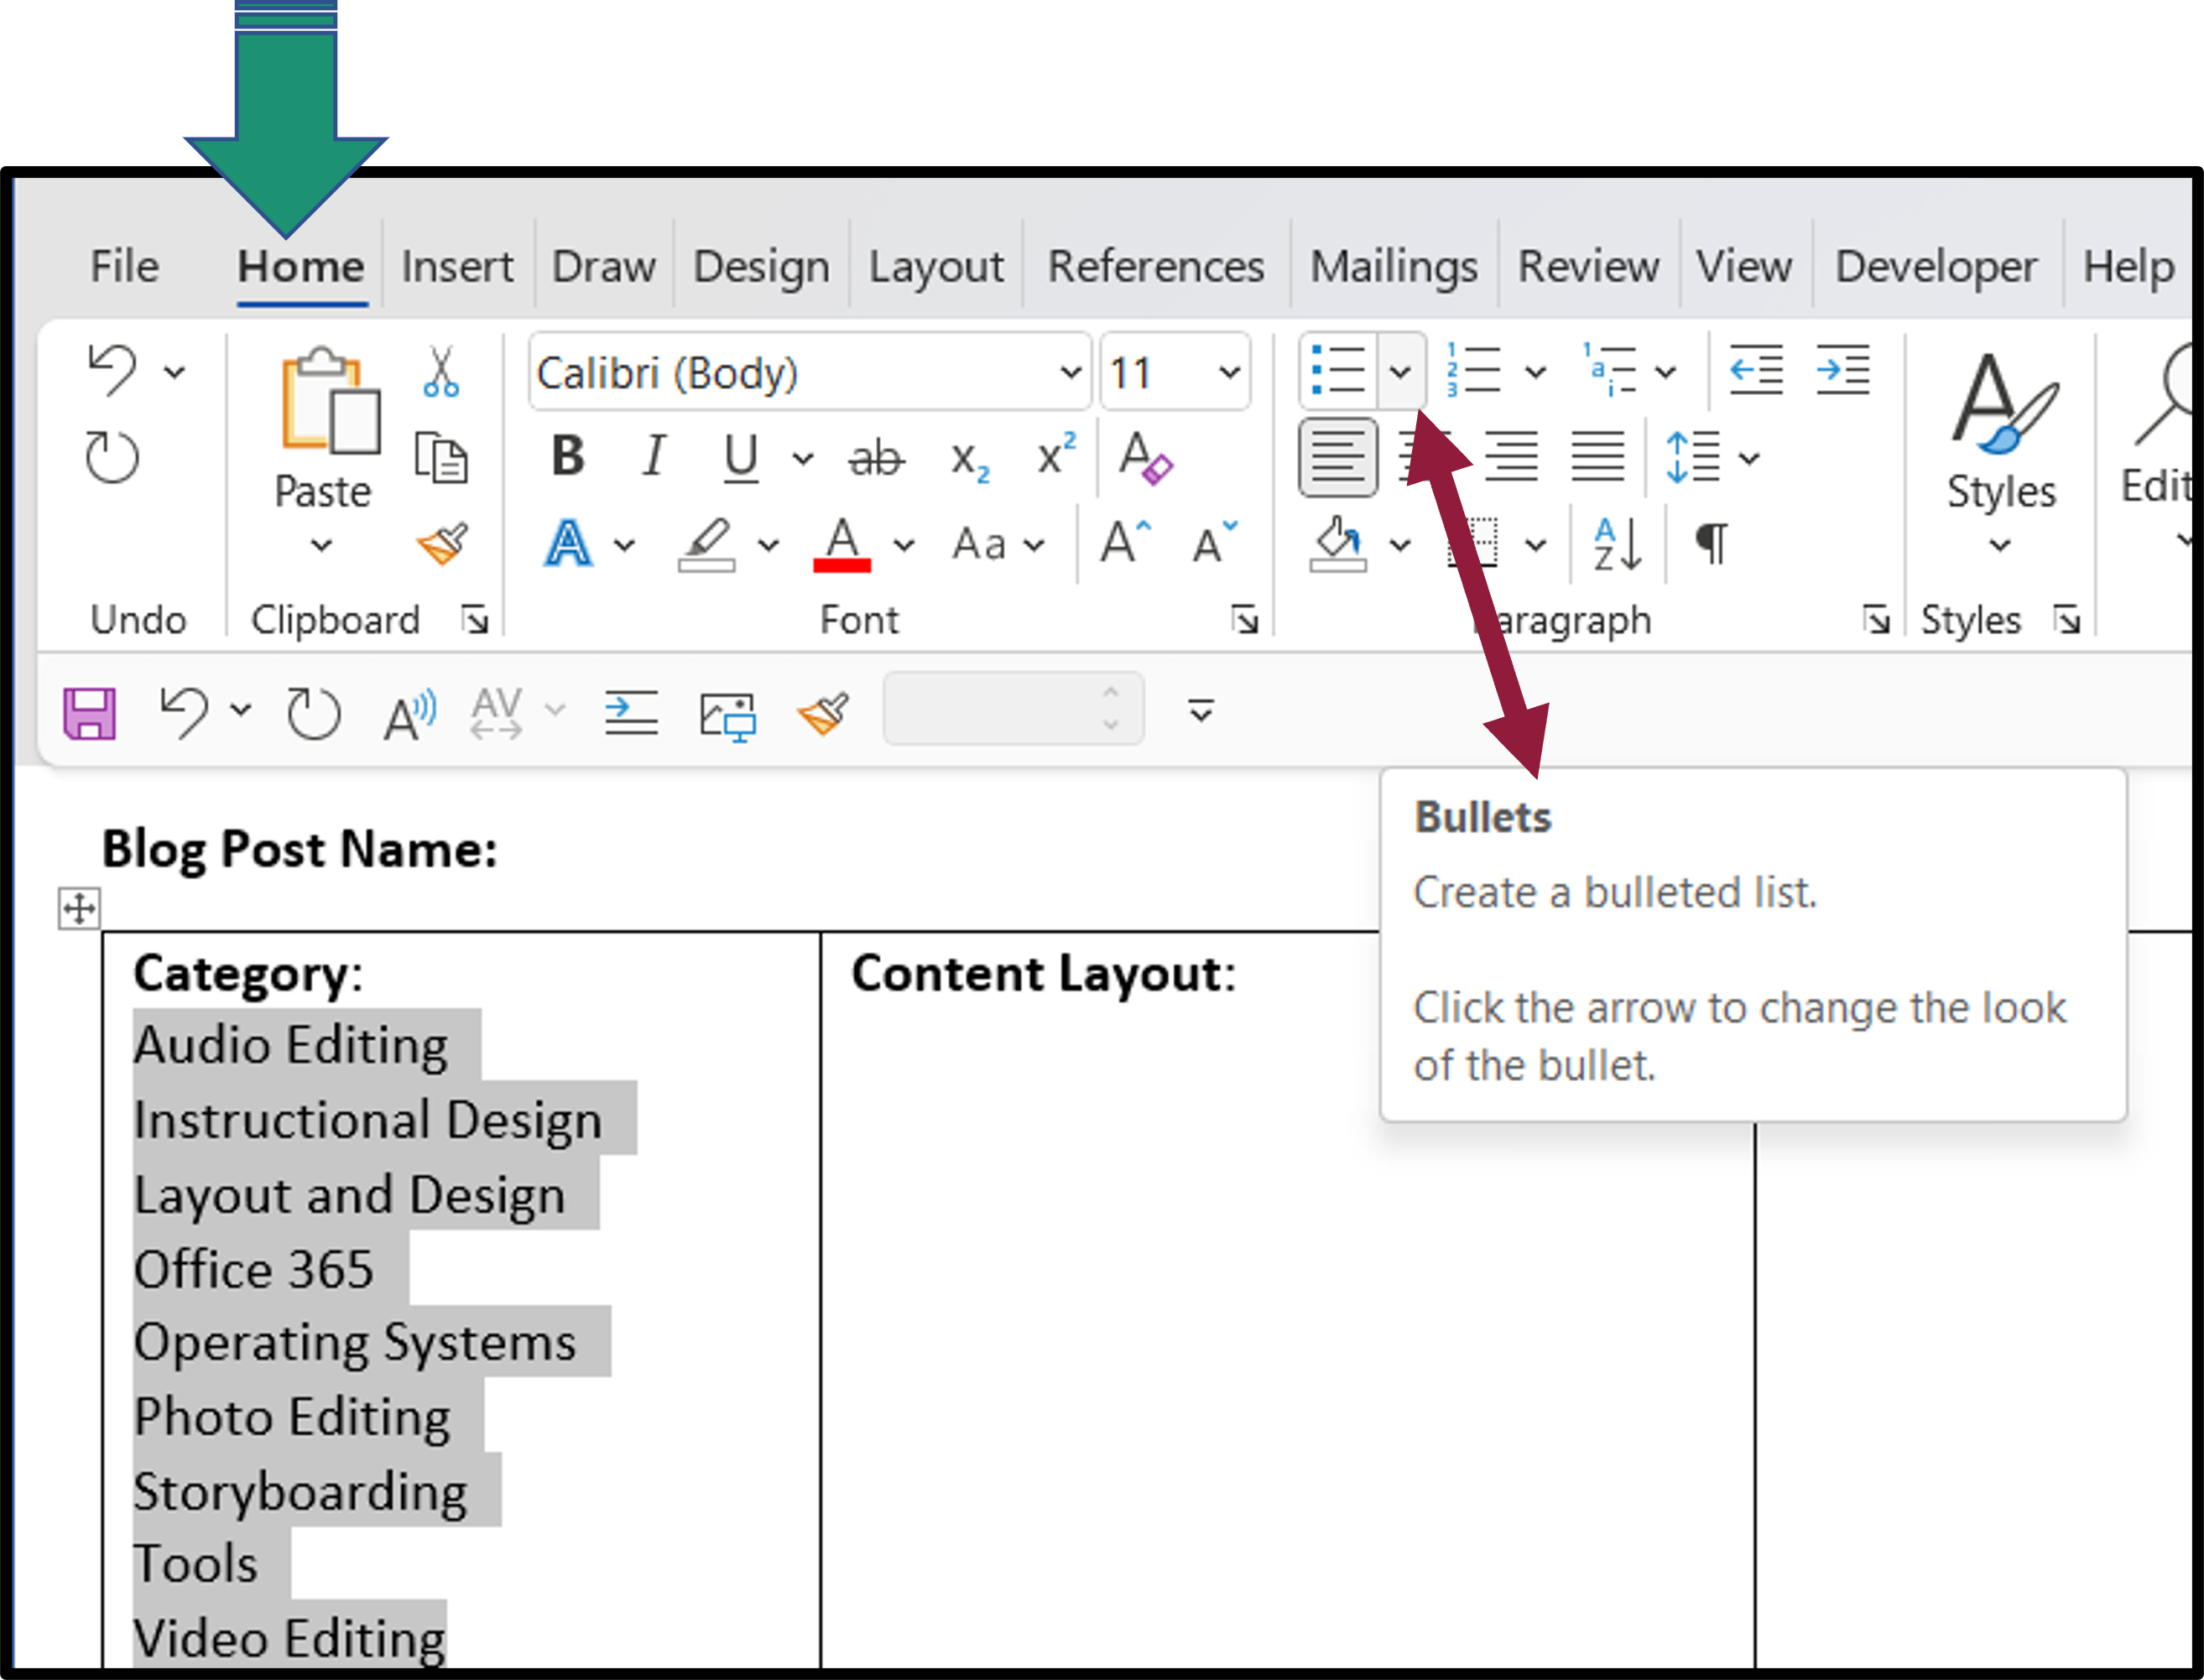
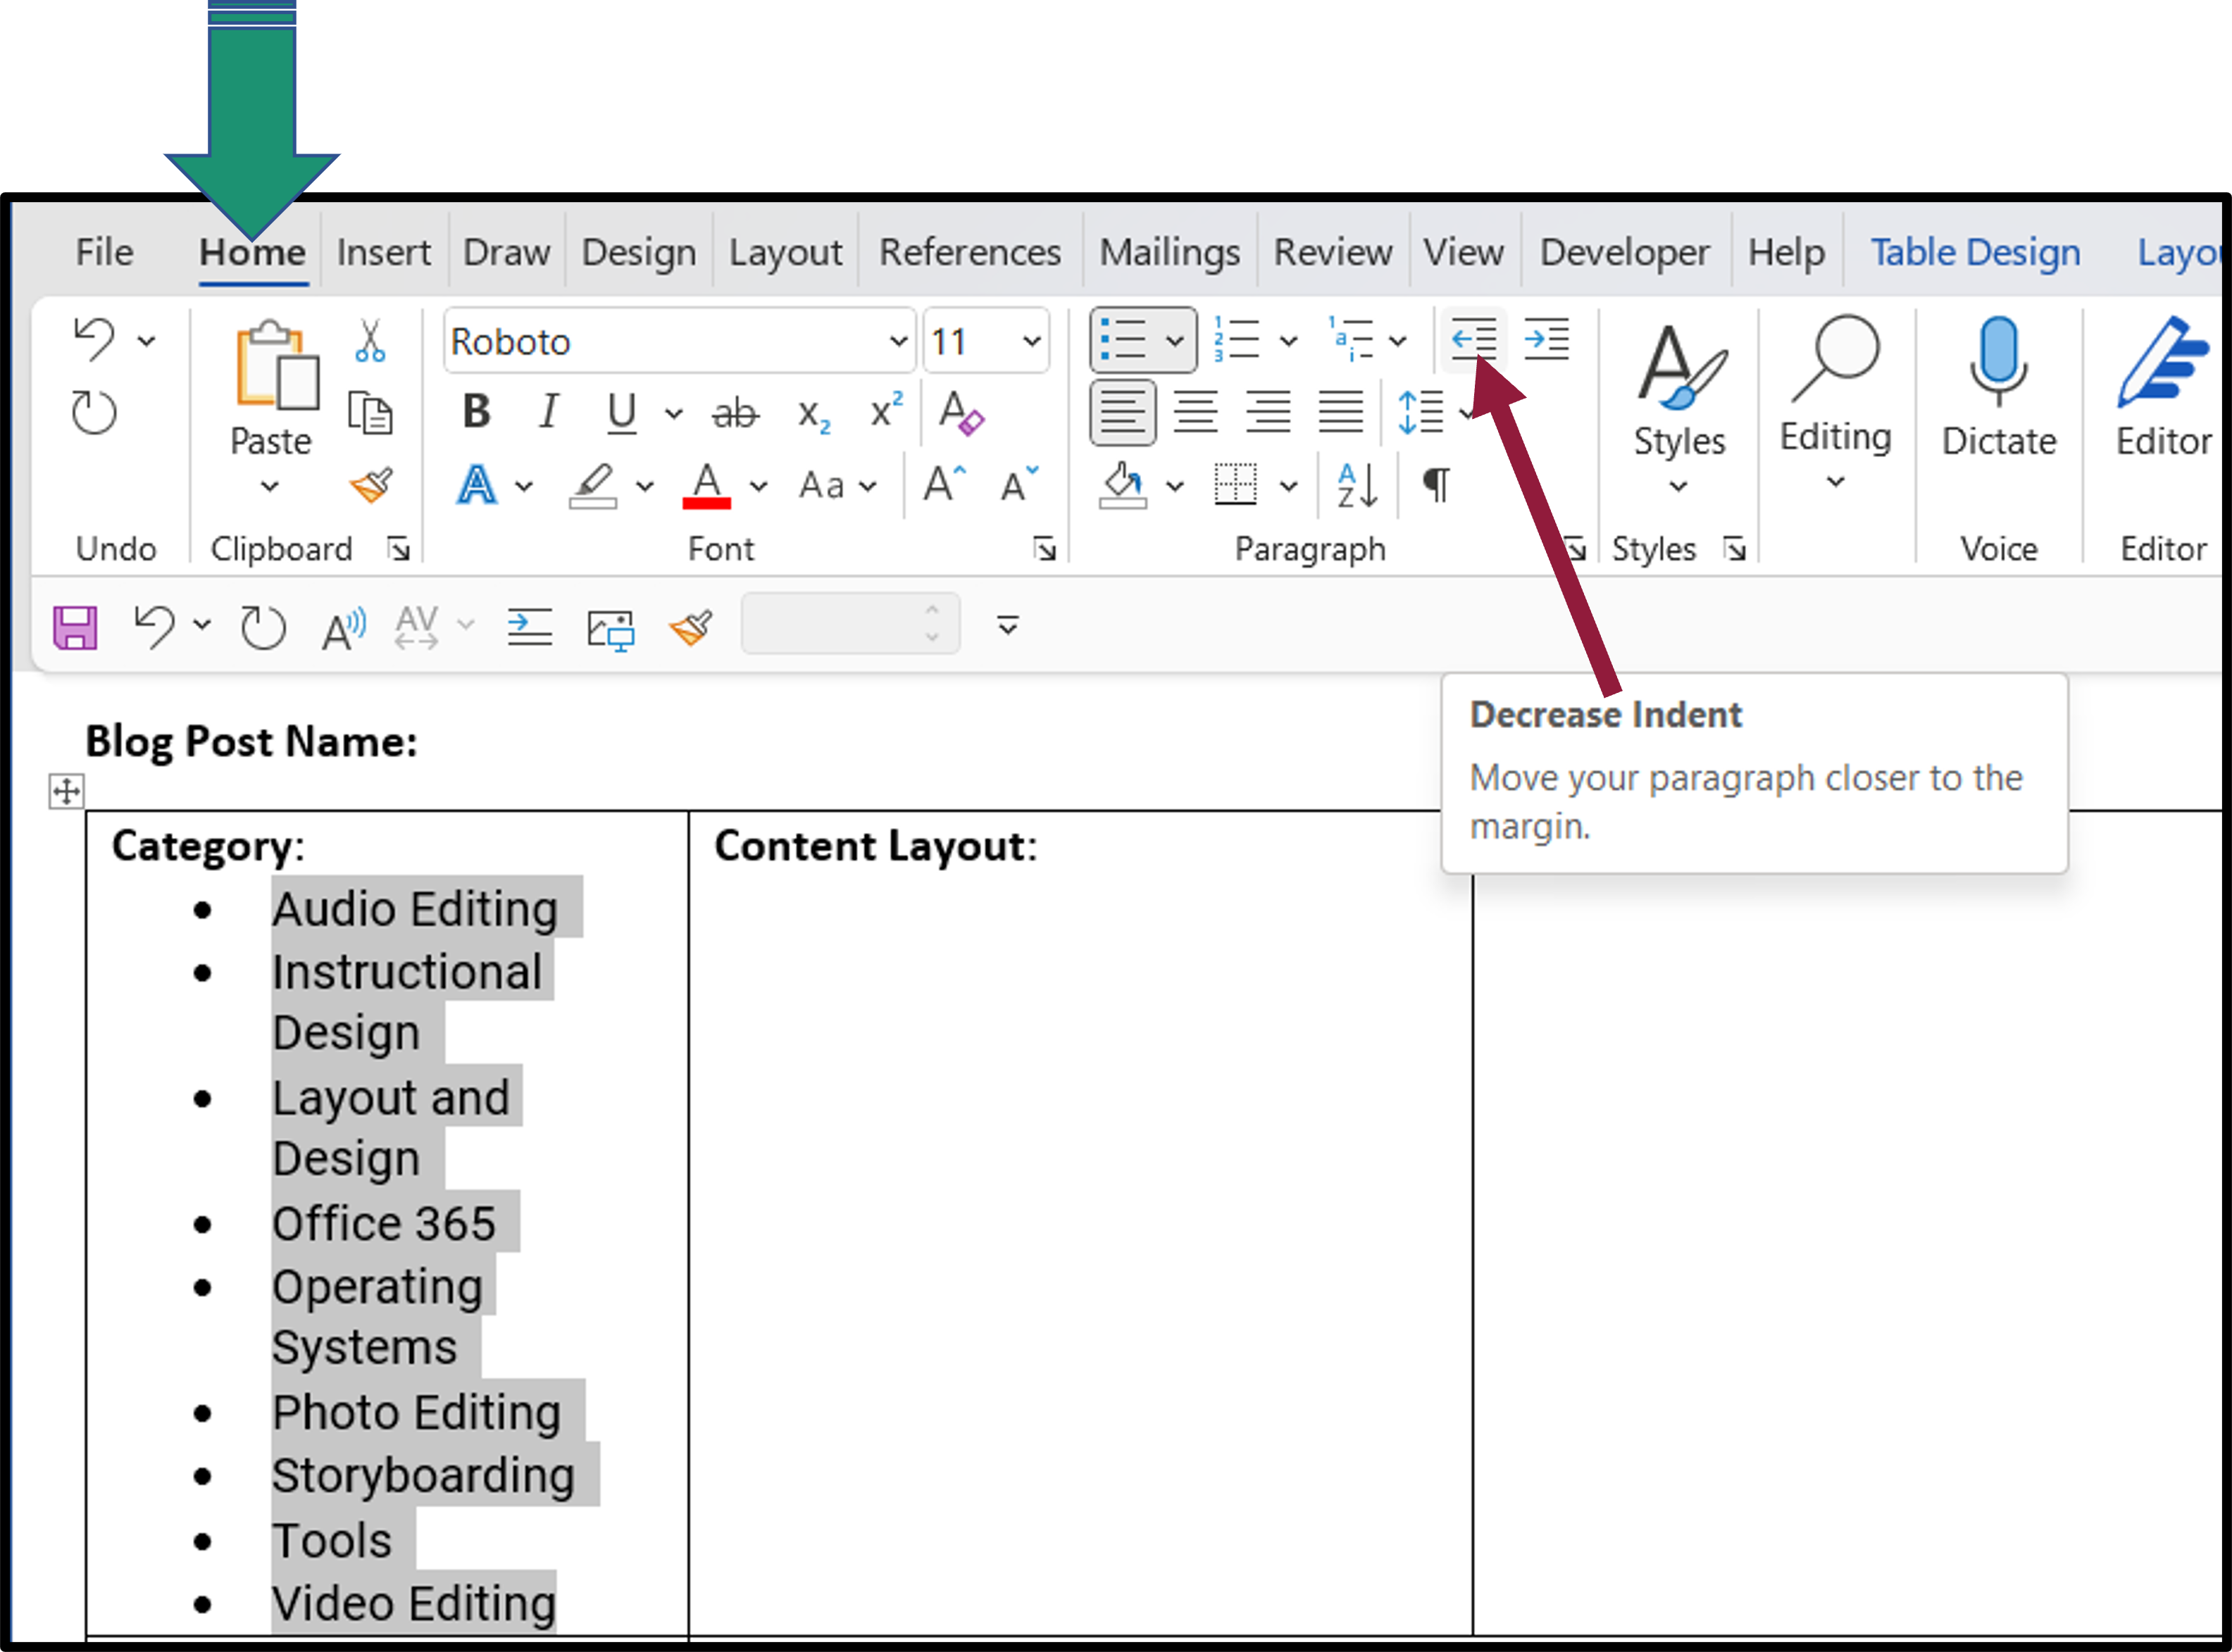
Use the Master Slide to create reusable section to make a standard storyboard to use on every style of course. Once you have a blank template you can perfect your own style and add consistency to your process.
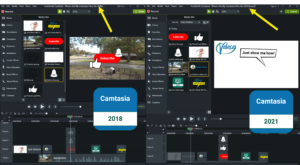
Camtasia didn’t save your project files in one location before version 2020. Now they do but the folders are different. Let me show you where your files are.

When choosing a new keyboard and mouse it is always better to get a matched set. They work better together, and they only use up one USB port.
19 Responses
Itís hard to find experienced people about this topic, but you seem like you know what youíre talking about! Thanks
Thank you. I appreciate the comment.
Very nice post. I definitely appreciate this site. Stick with it!
Thank you.
Good post. I learn something totally new and challenging on websites I stumbleupon every day. Its always exciting to read articles from other writers and practice a little something from other sites.
Thank you I appreciate it.
Greetings! Very useful advice within this article! Its the little changes that make the most significant changes. Thanks a lot for sharing!
Thank you for your comments.
I got this web page from my friend who shared with me about
this web page and at the moment this time I am
browsing this site and reading very informative content here.
Carly Frye
madelief geirsson
Tony Hanna
Personally, I alay4d enjoyed the photojournalism aspect of it, as it just as easily could have been another paint-by-numbers war film. It also shows a potential future where each side reaches their breaking point and conflict does ensue.
Delloyd Burghartz
Porfiria Fappiano
Teena Martinez saenz
Cliffie Al-fazari
The insights in this article are very valuable. The author’s approach to the topic was engaging and informative. I’m curious to hear different perspectives on this. What do you think?
great issues altogether, you siply received a new reader.
What maay you recommend in regards to your post that you
just made some days ago? Any positive?
my blog – eskort