


Planning: I am off on my life long dream trip to England, Scotland, and Ireland. I fly out July 9, 2026 from
YouTube Video Just Show Me How How can I resize a bunch of photos to the same size at one time? This

You don’t have to know what every button can do before you start using Photoshop. Learn the simple basics and then build on that foundation.
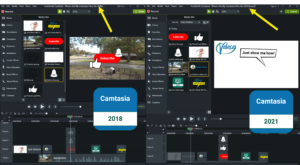
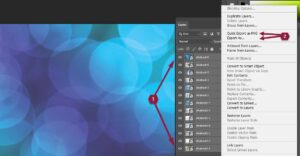
Camtasia didn’t save your project files in one location before version 2020. Now they do but the folders are different. Let me show you where your files are.
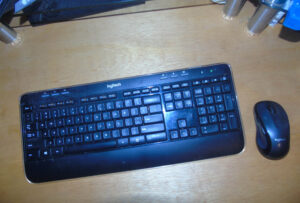
When choosing a new keyboard and mouse it is always better to get a matched set. They work better together, and they only use up one USB port.
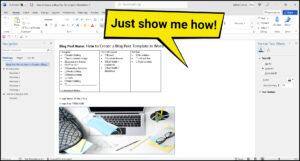
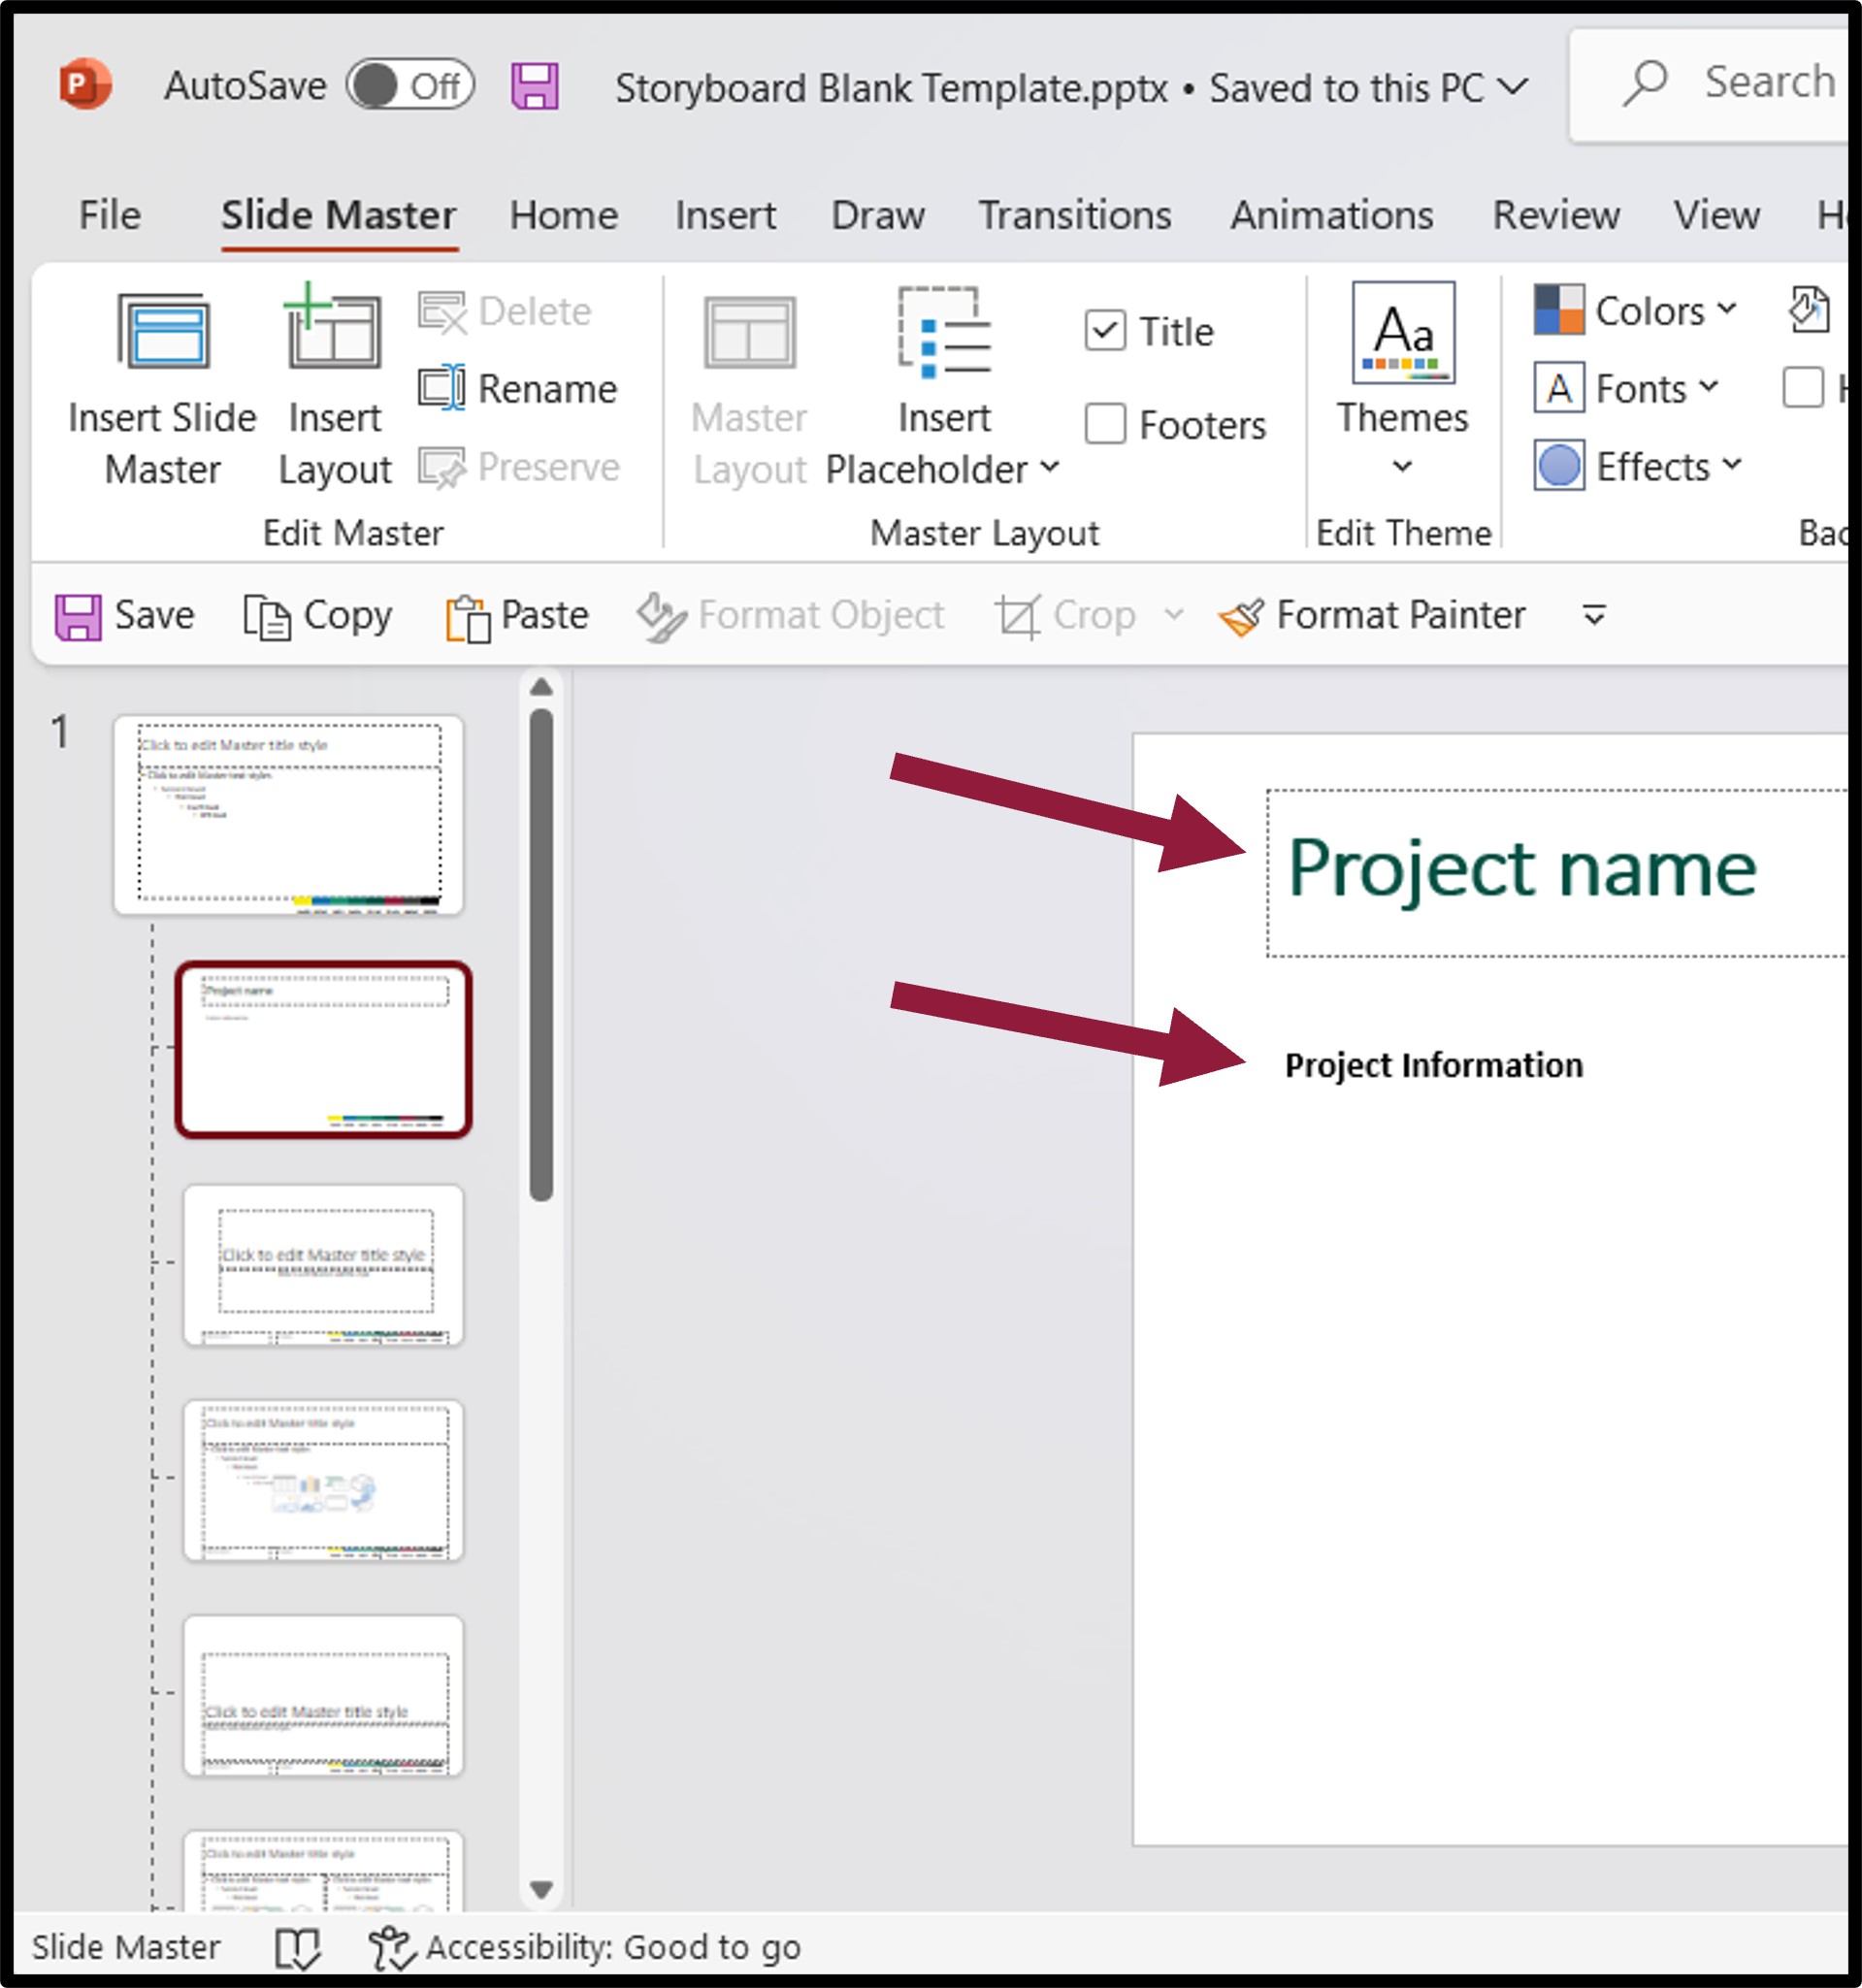
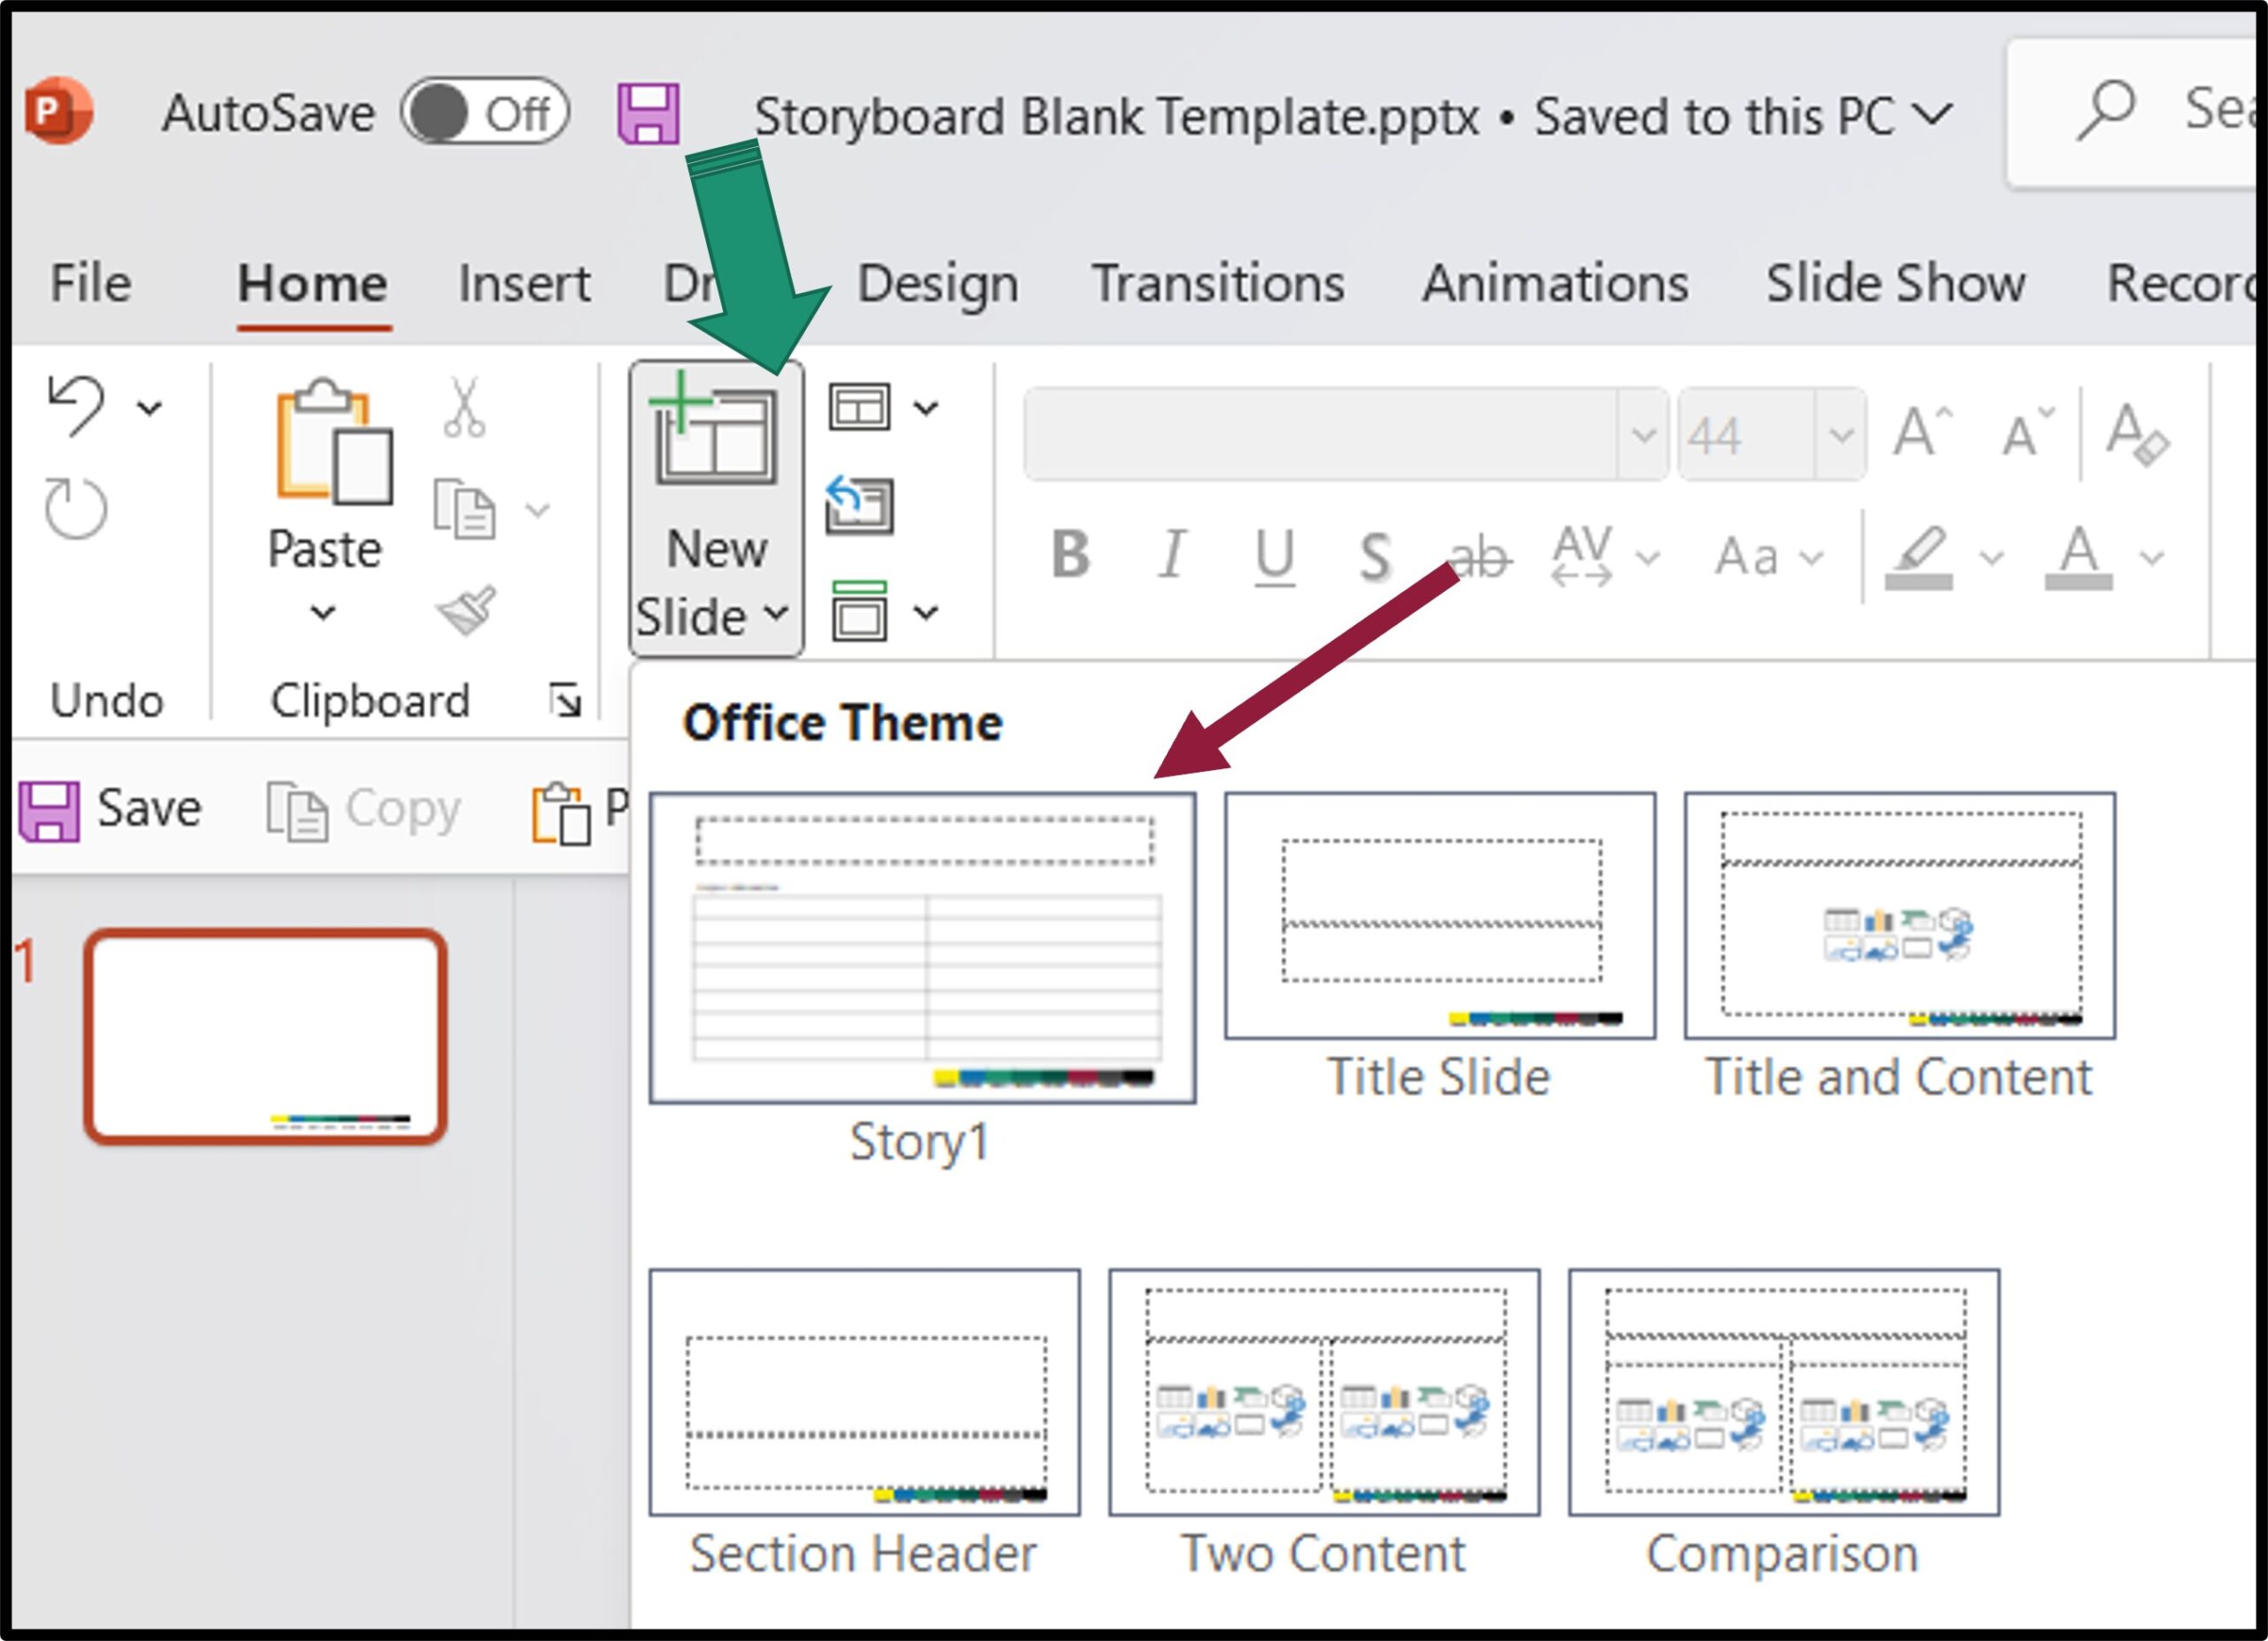
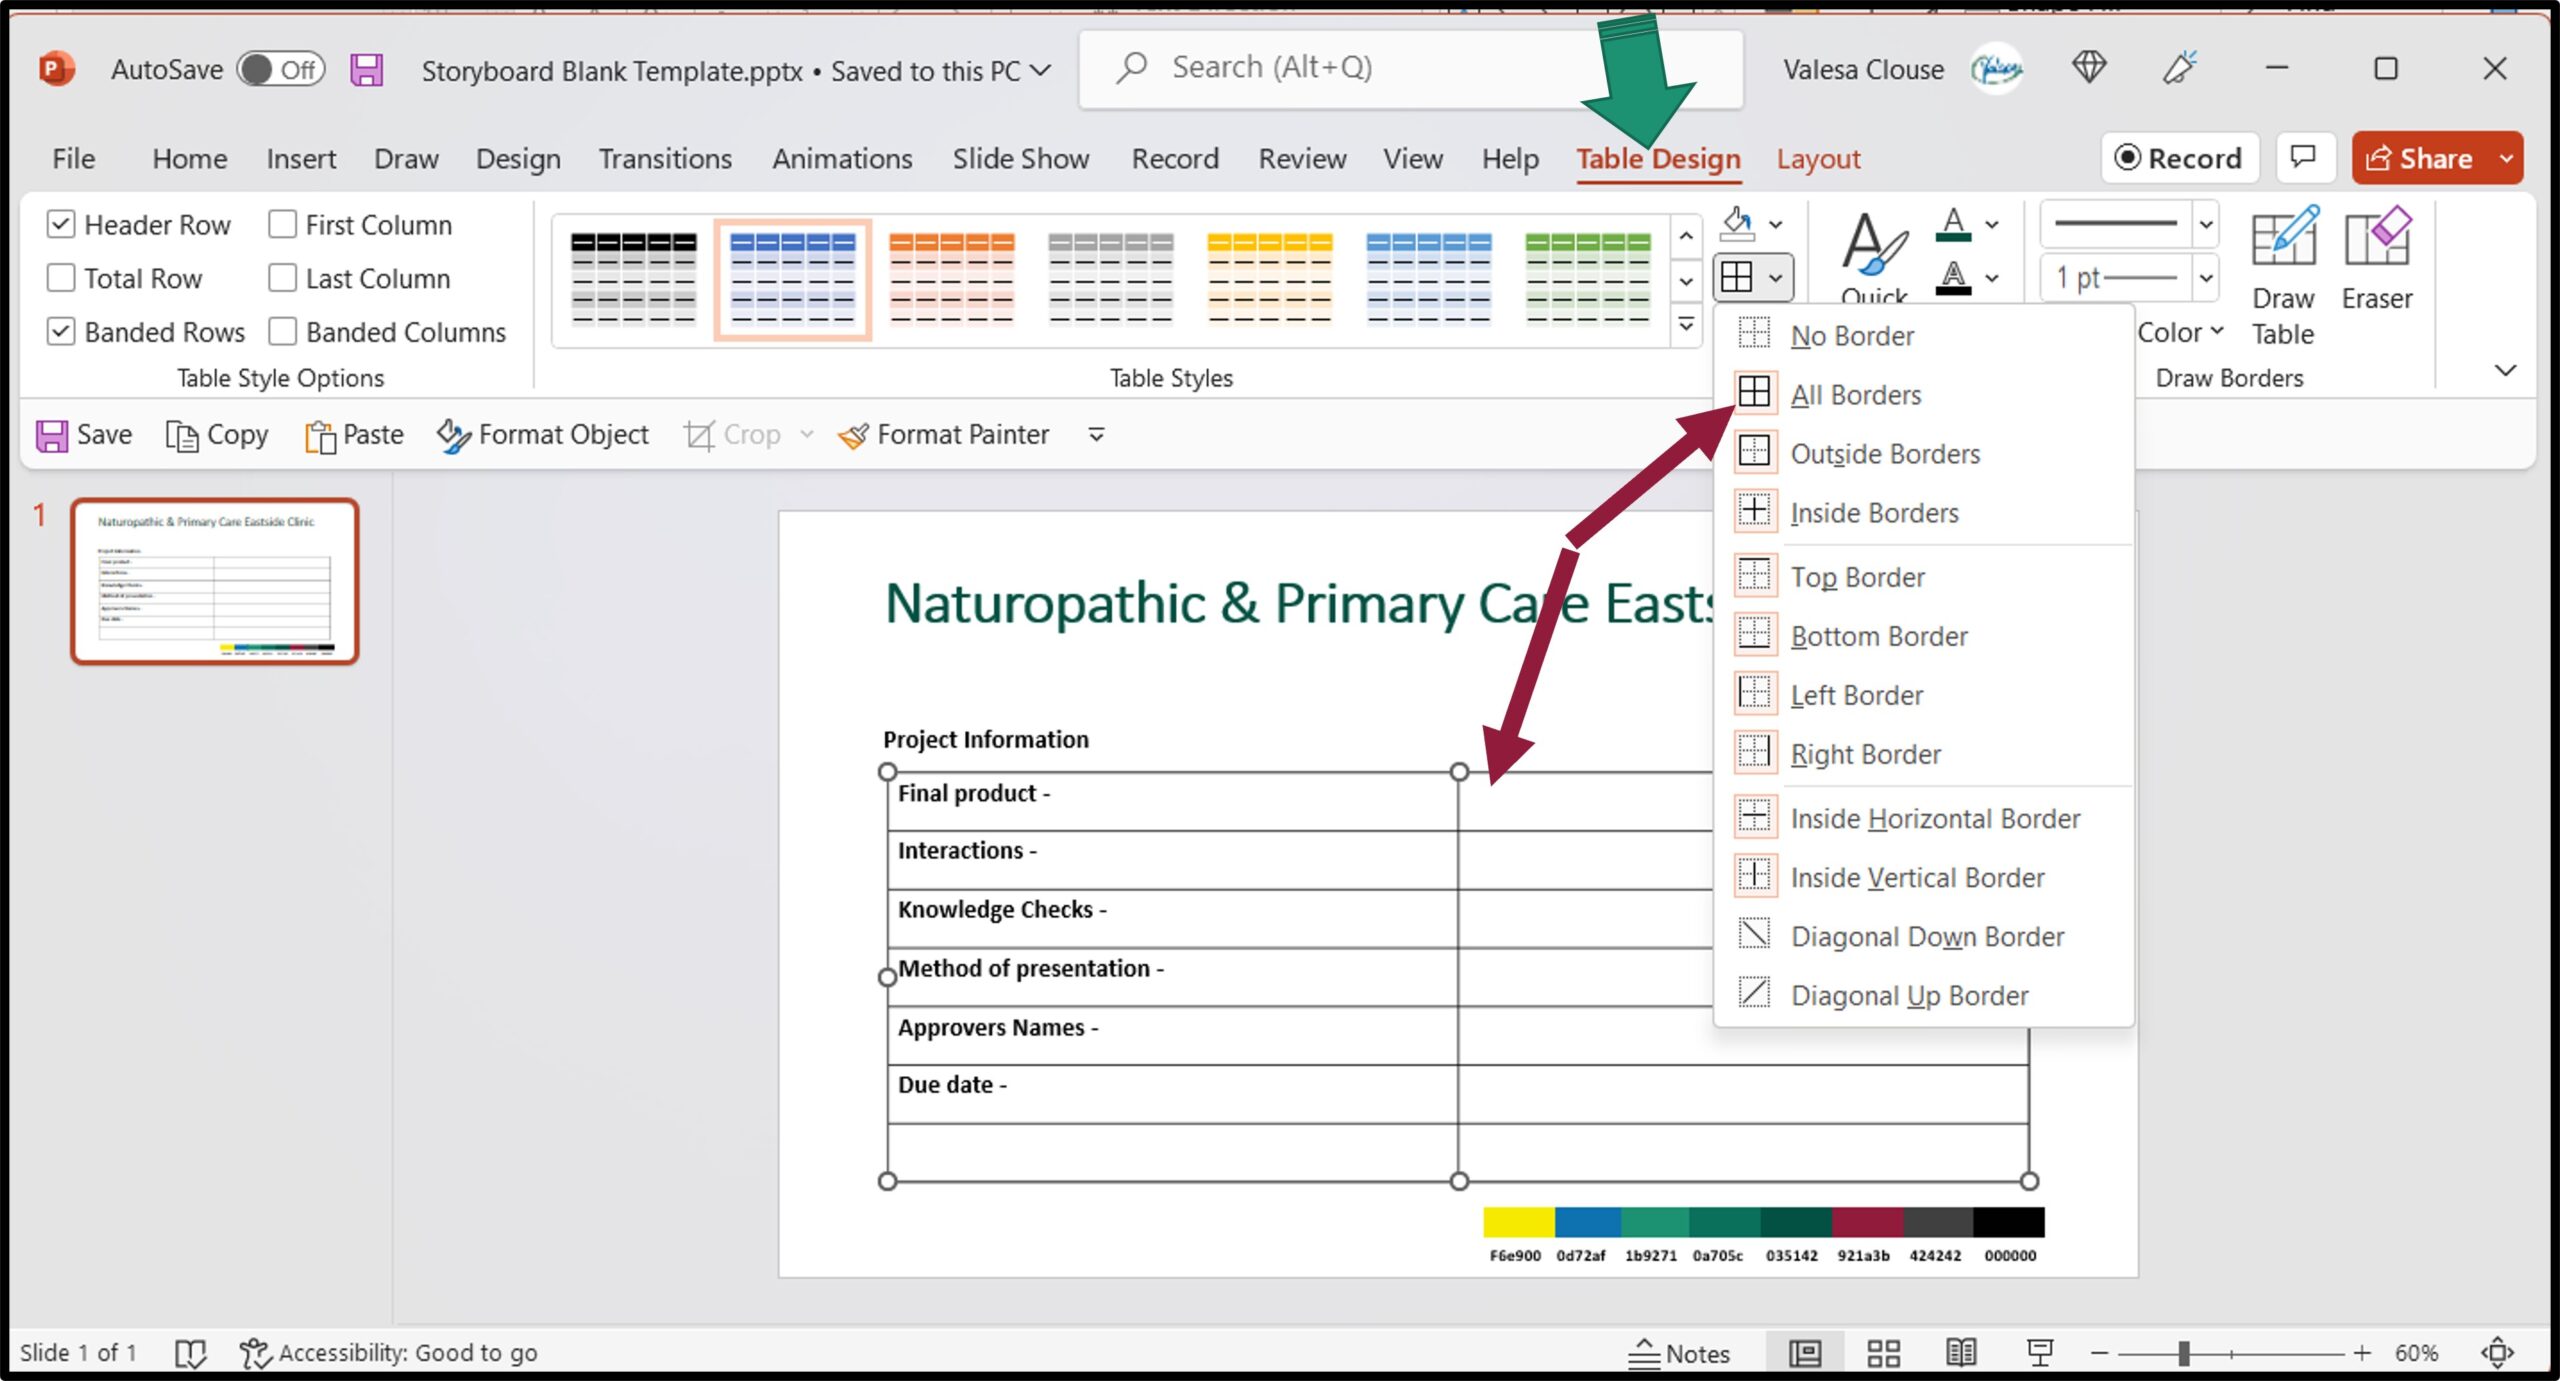
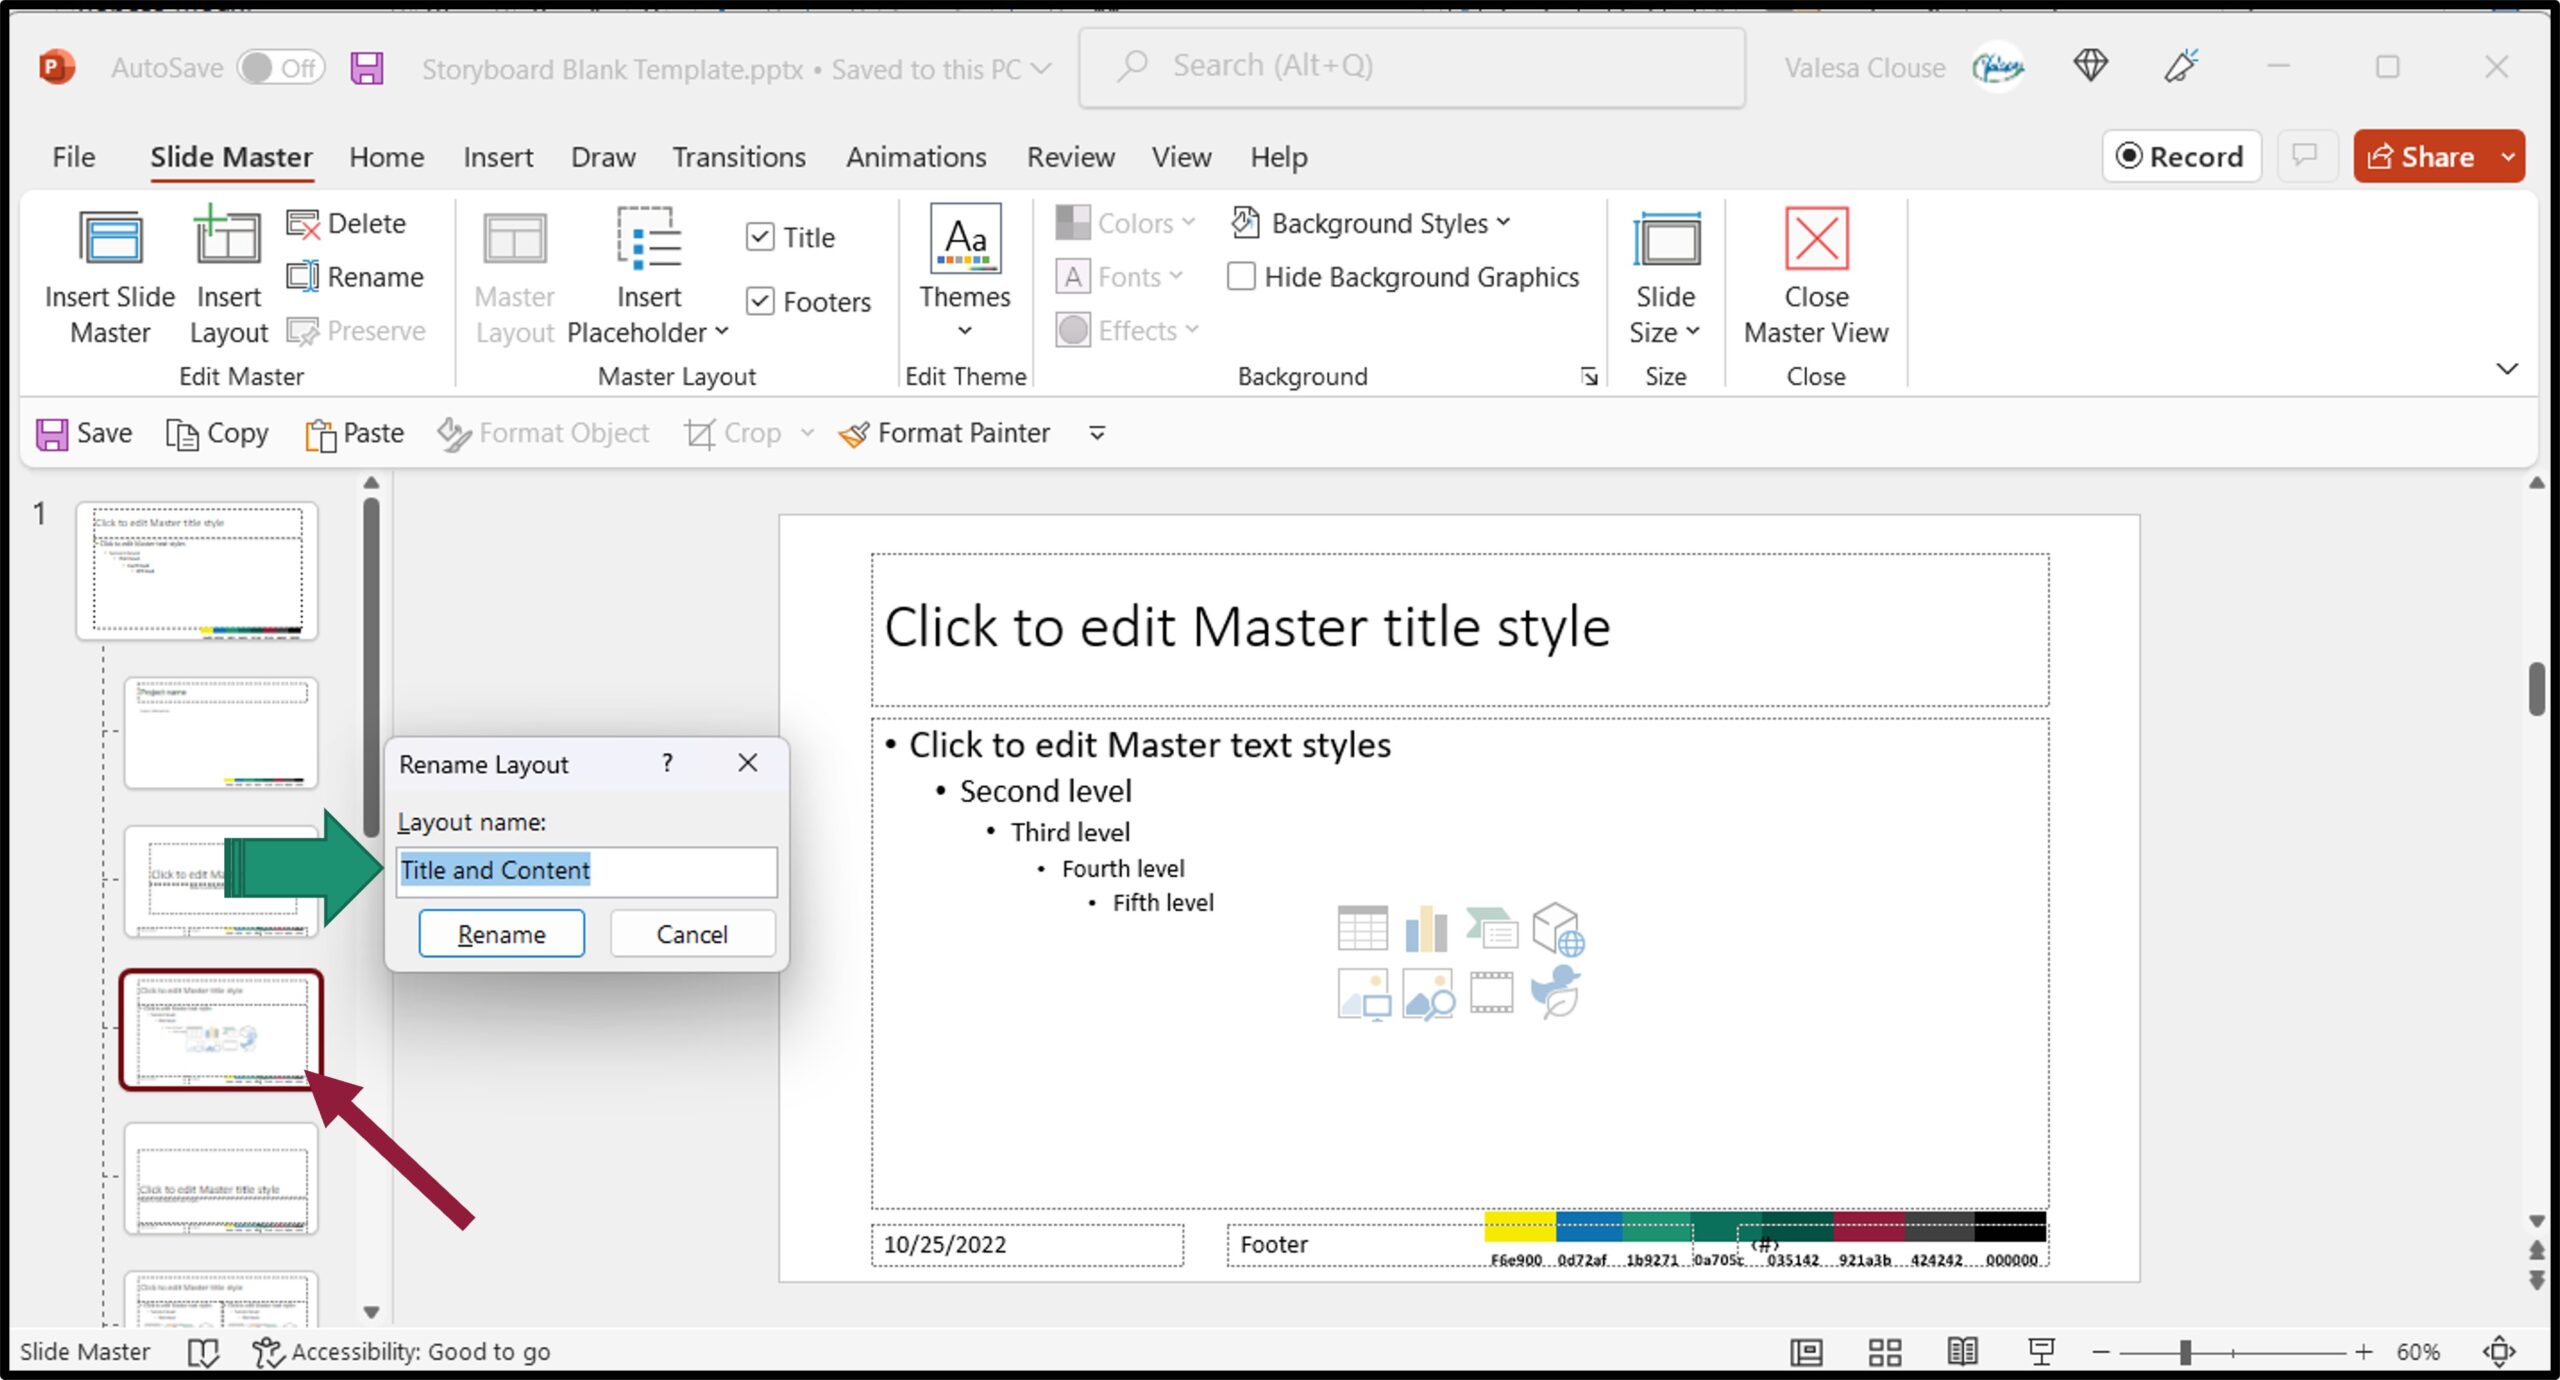
How do I make a template in Word? A Word Template is created by setting up a document, with your own personally
5 Responses
Hi there, i read your blog occasionally and i own a
similar one and i was just curious if you get a lot of spam feedback?
If so how do you protect against it, any plugin or anything you can recommend?
I get so much lately it’s driving me insane so any support
is very much appreciated.
I am very sorry to say that I don’t have a fix for the spam either. I am looking and when I find one, I will share the information with you. Thank you.
You actually make it seem really easy together with your presentation however I in finding this topic to be really
one thing that I believe I would by no means understand.
It kind of feels too complex and very huge for me.
I’m taking a look forward for your next publish, I’ll attempt to get the grasp of it!
Escape room
Wow, marvelous blog layout! How long have you been blogging
for? you make blogging look easy. The overall look of your website is excellent, let alone the content!
Thank you. I have been blogging about a year and I am still learning.