


Planning: I am off on my life long dream trip to England, Scotland, and Ireland. I fly out July 9, 2026 from
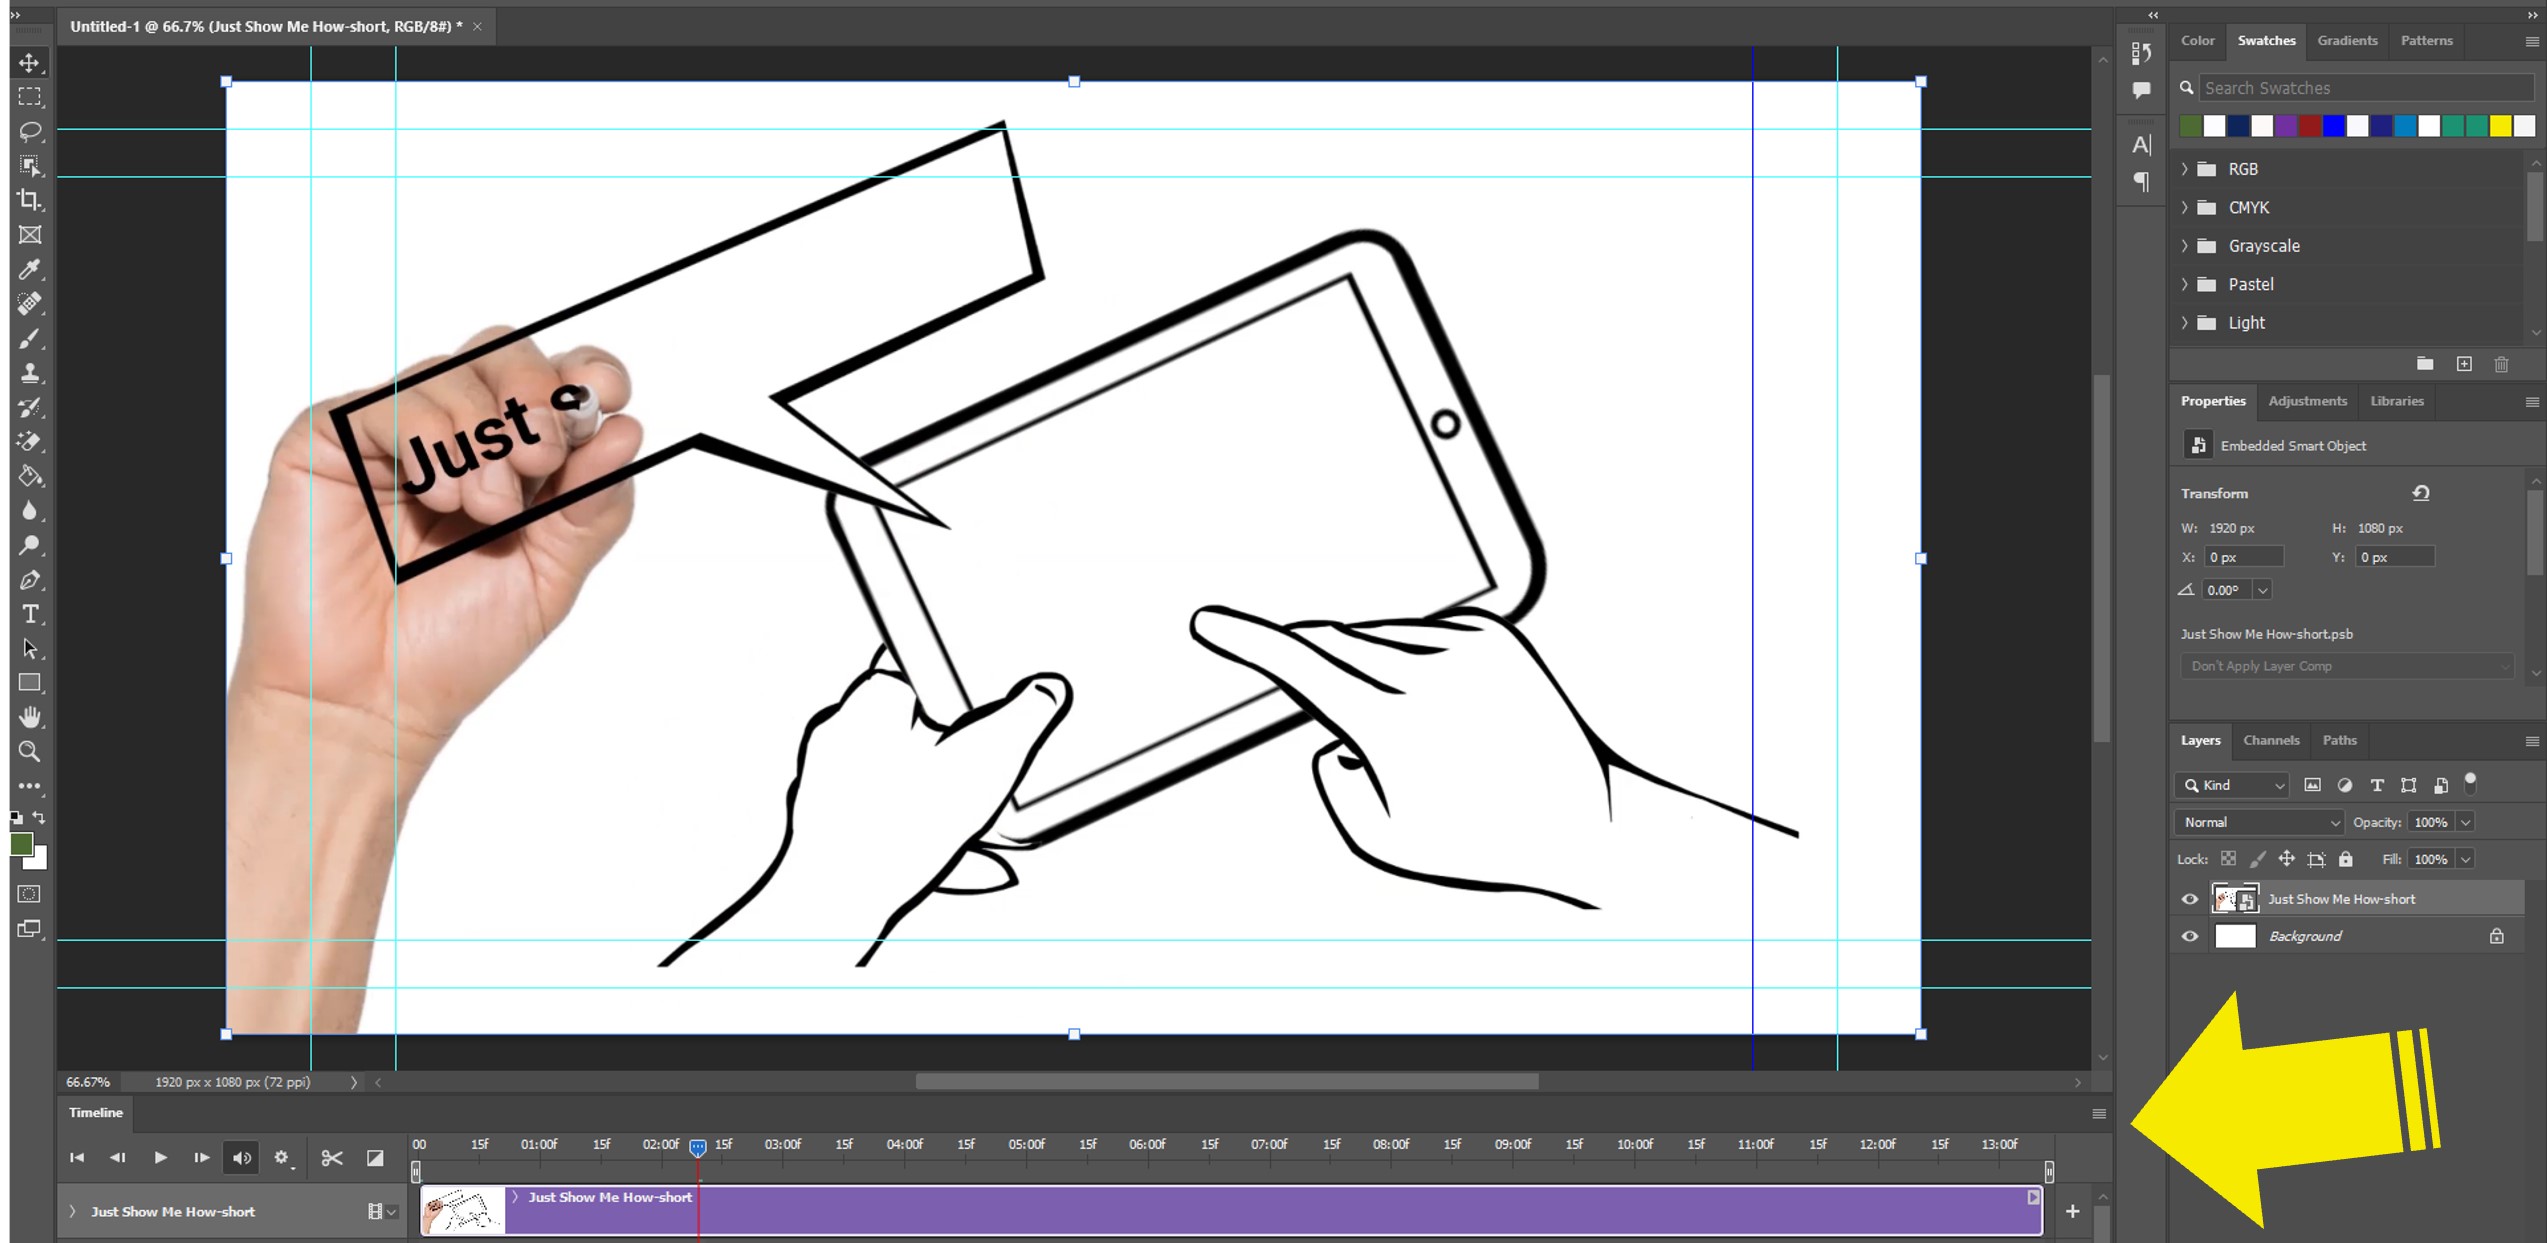
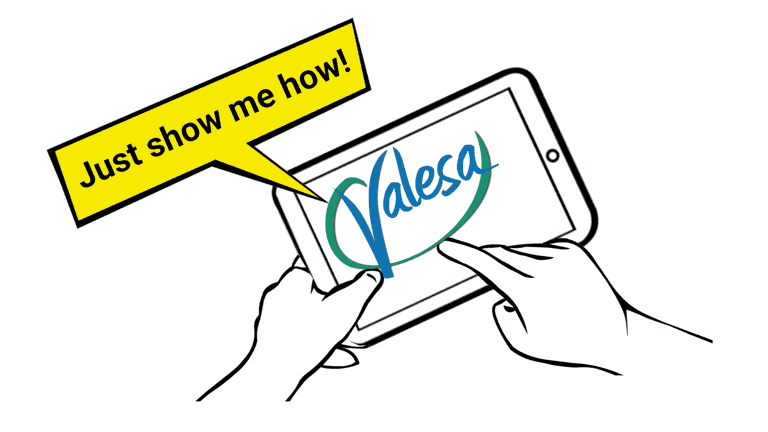
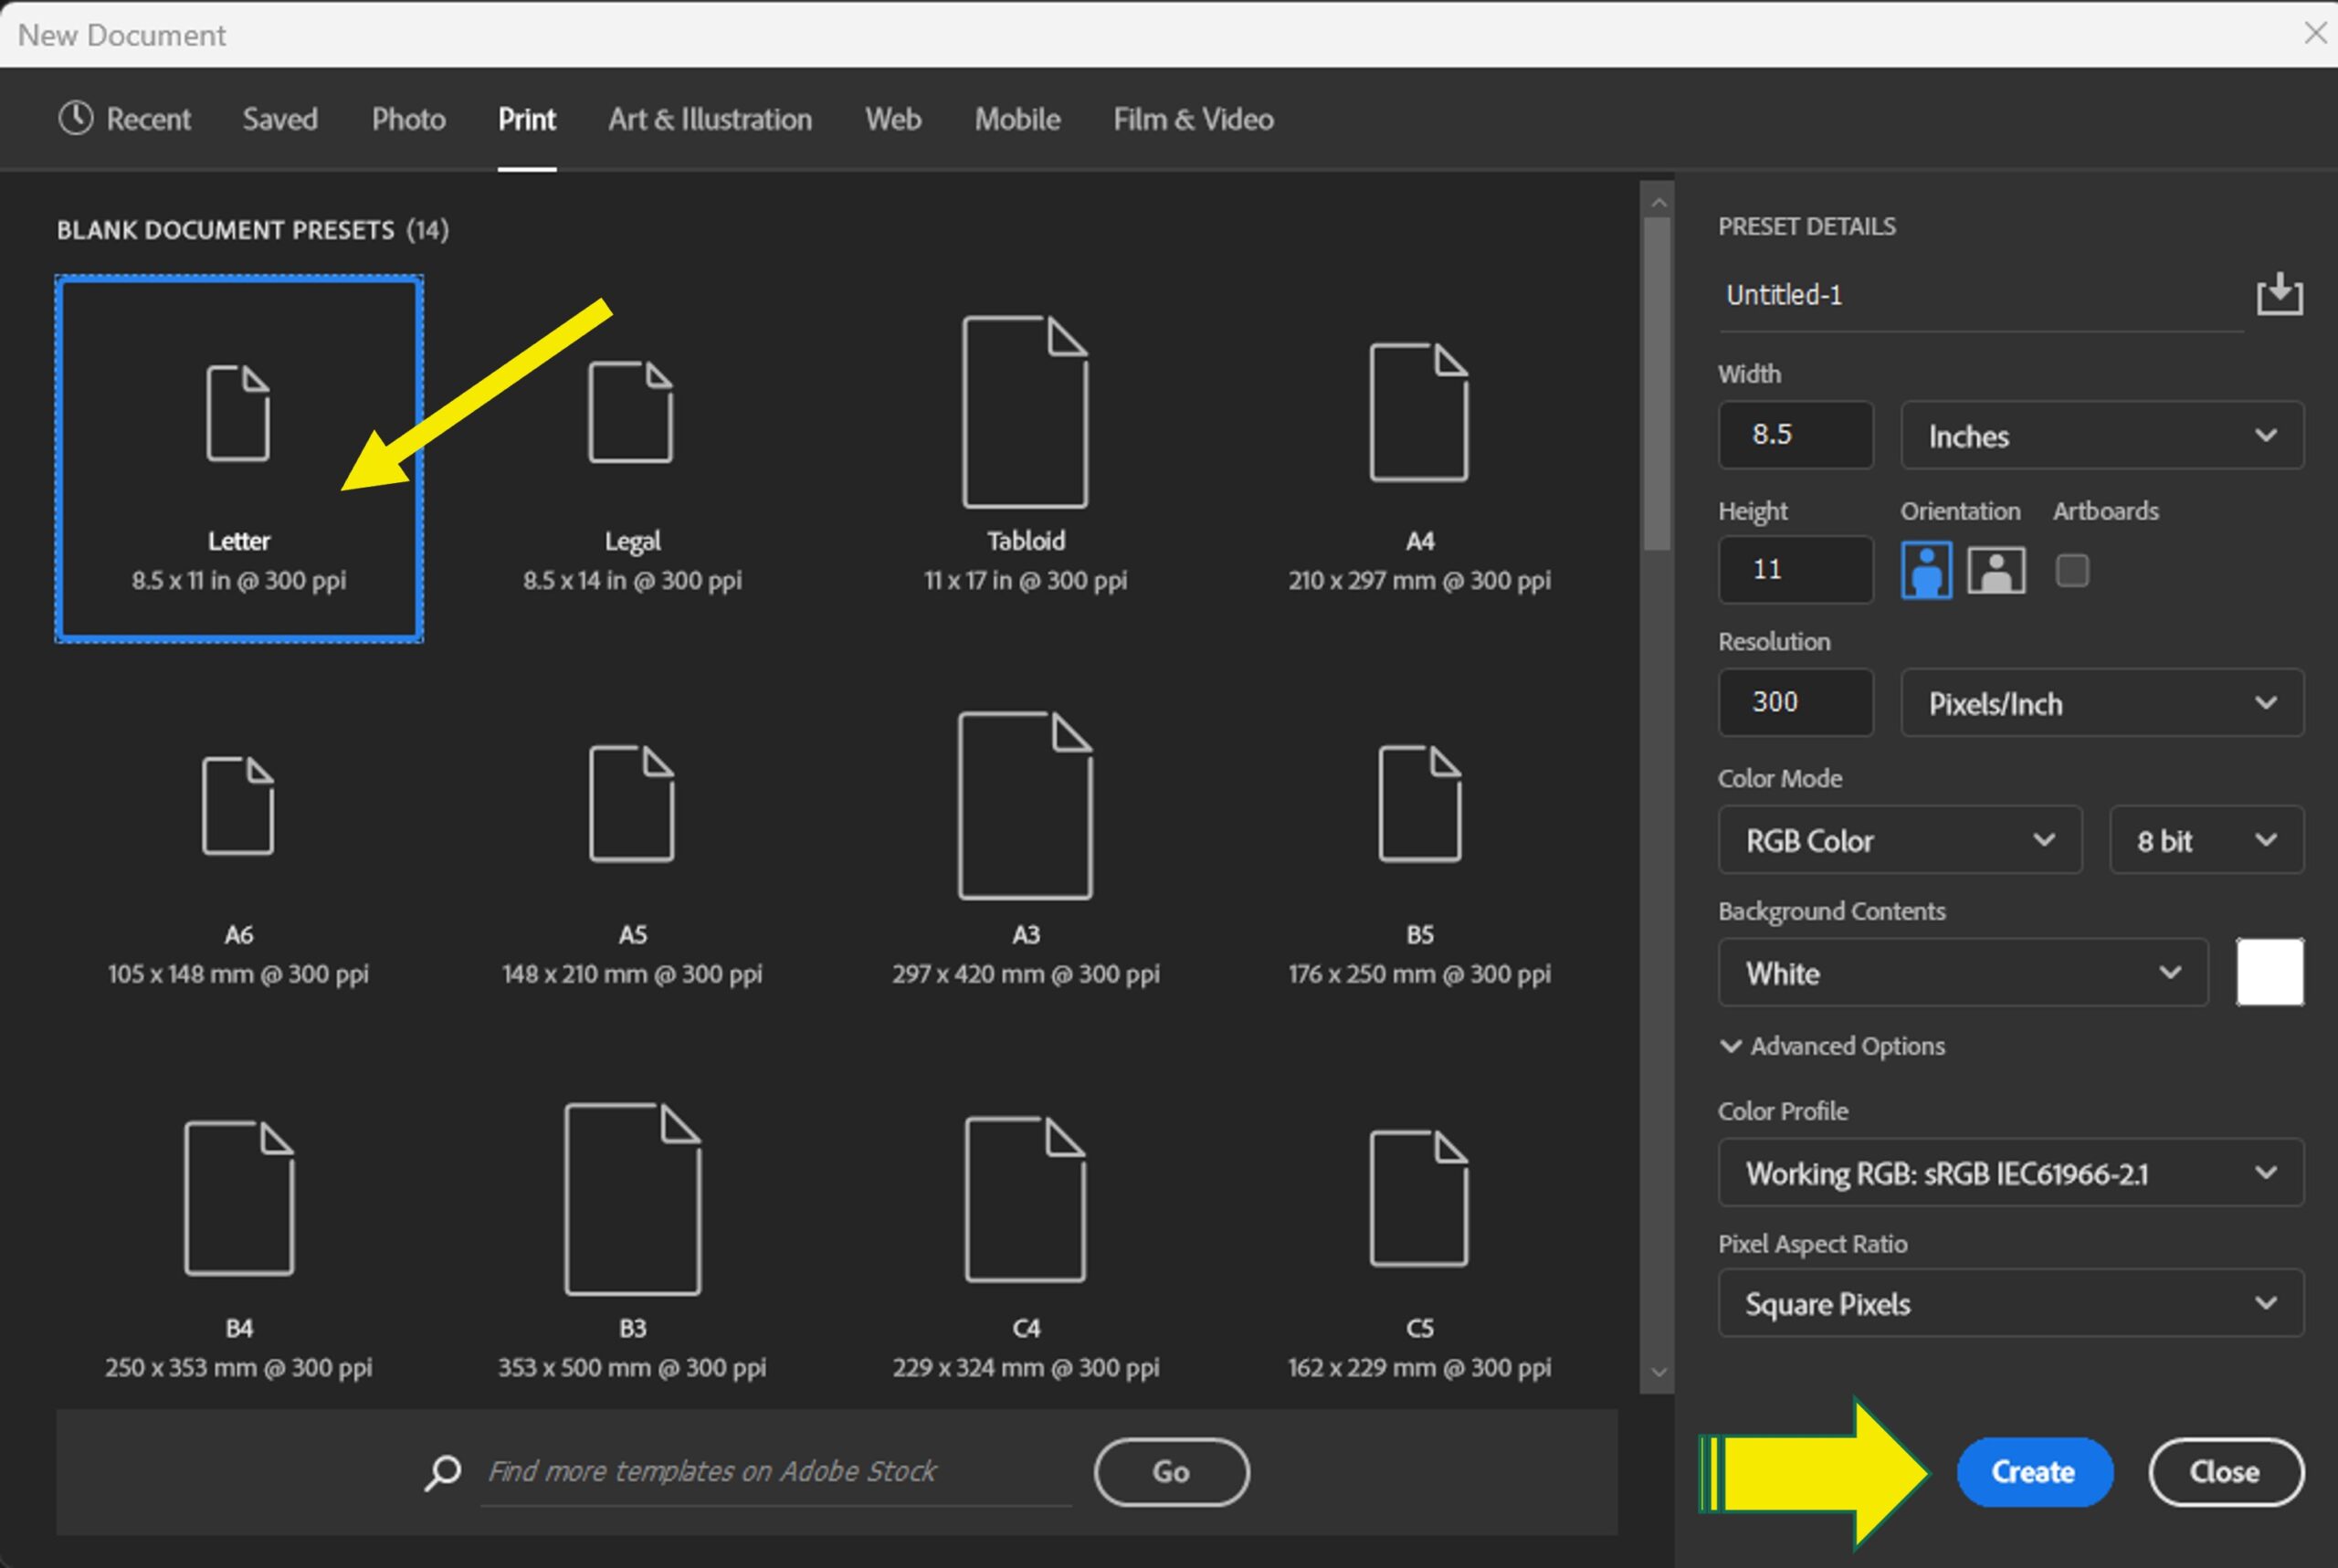
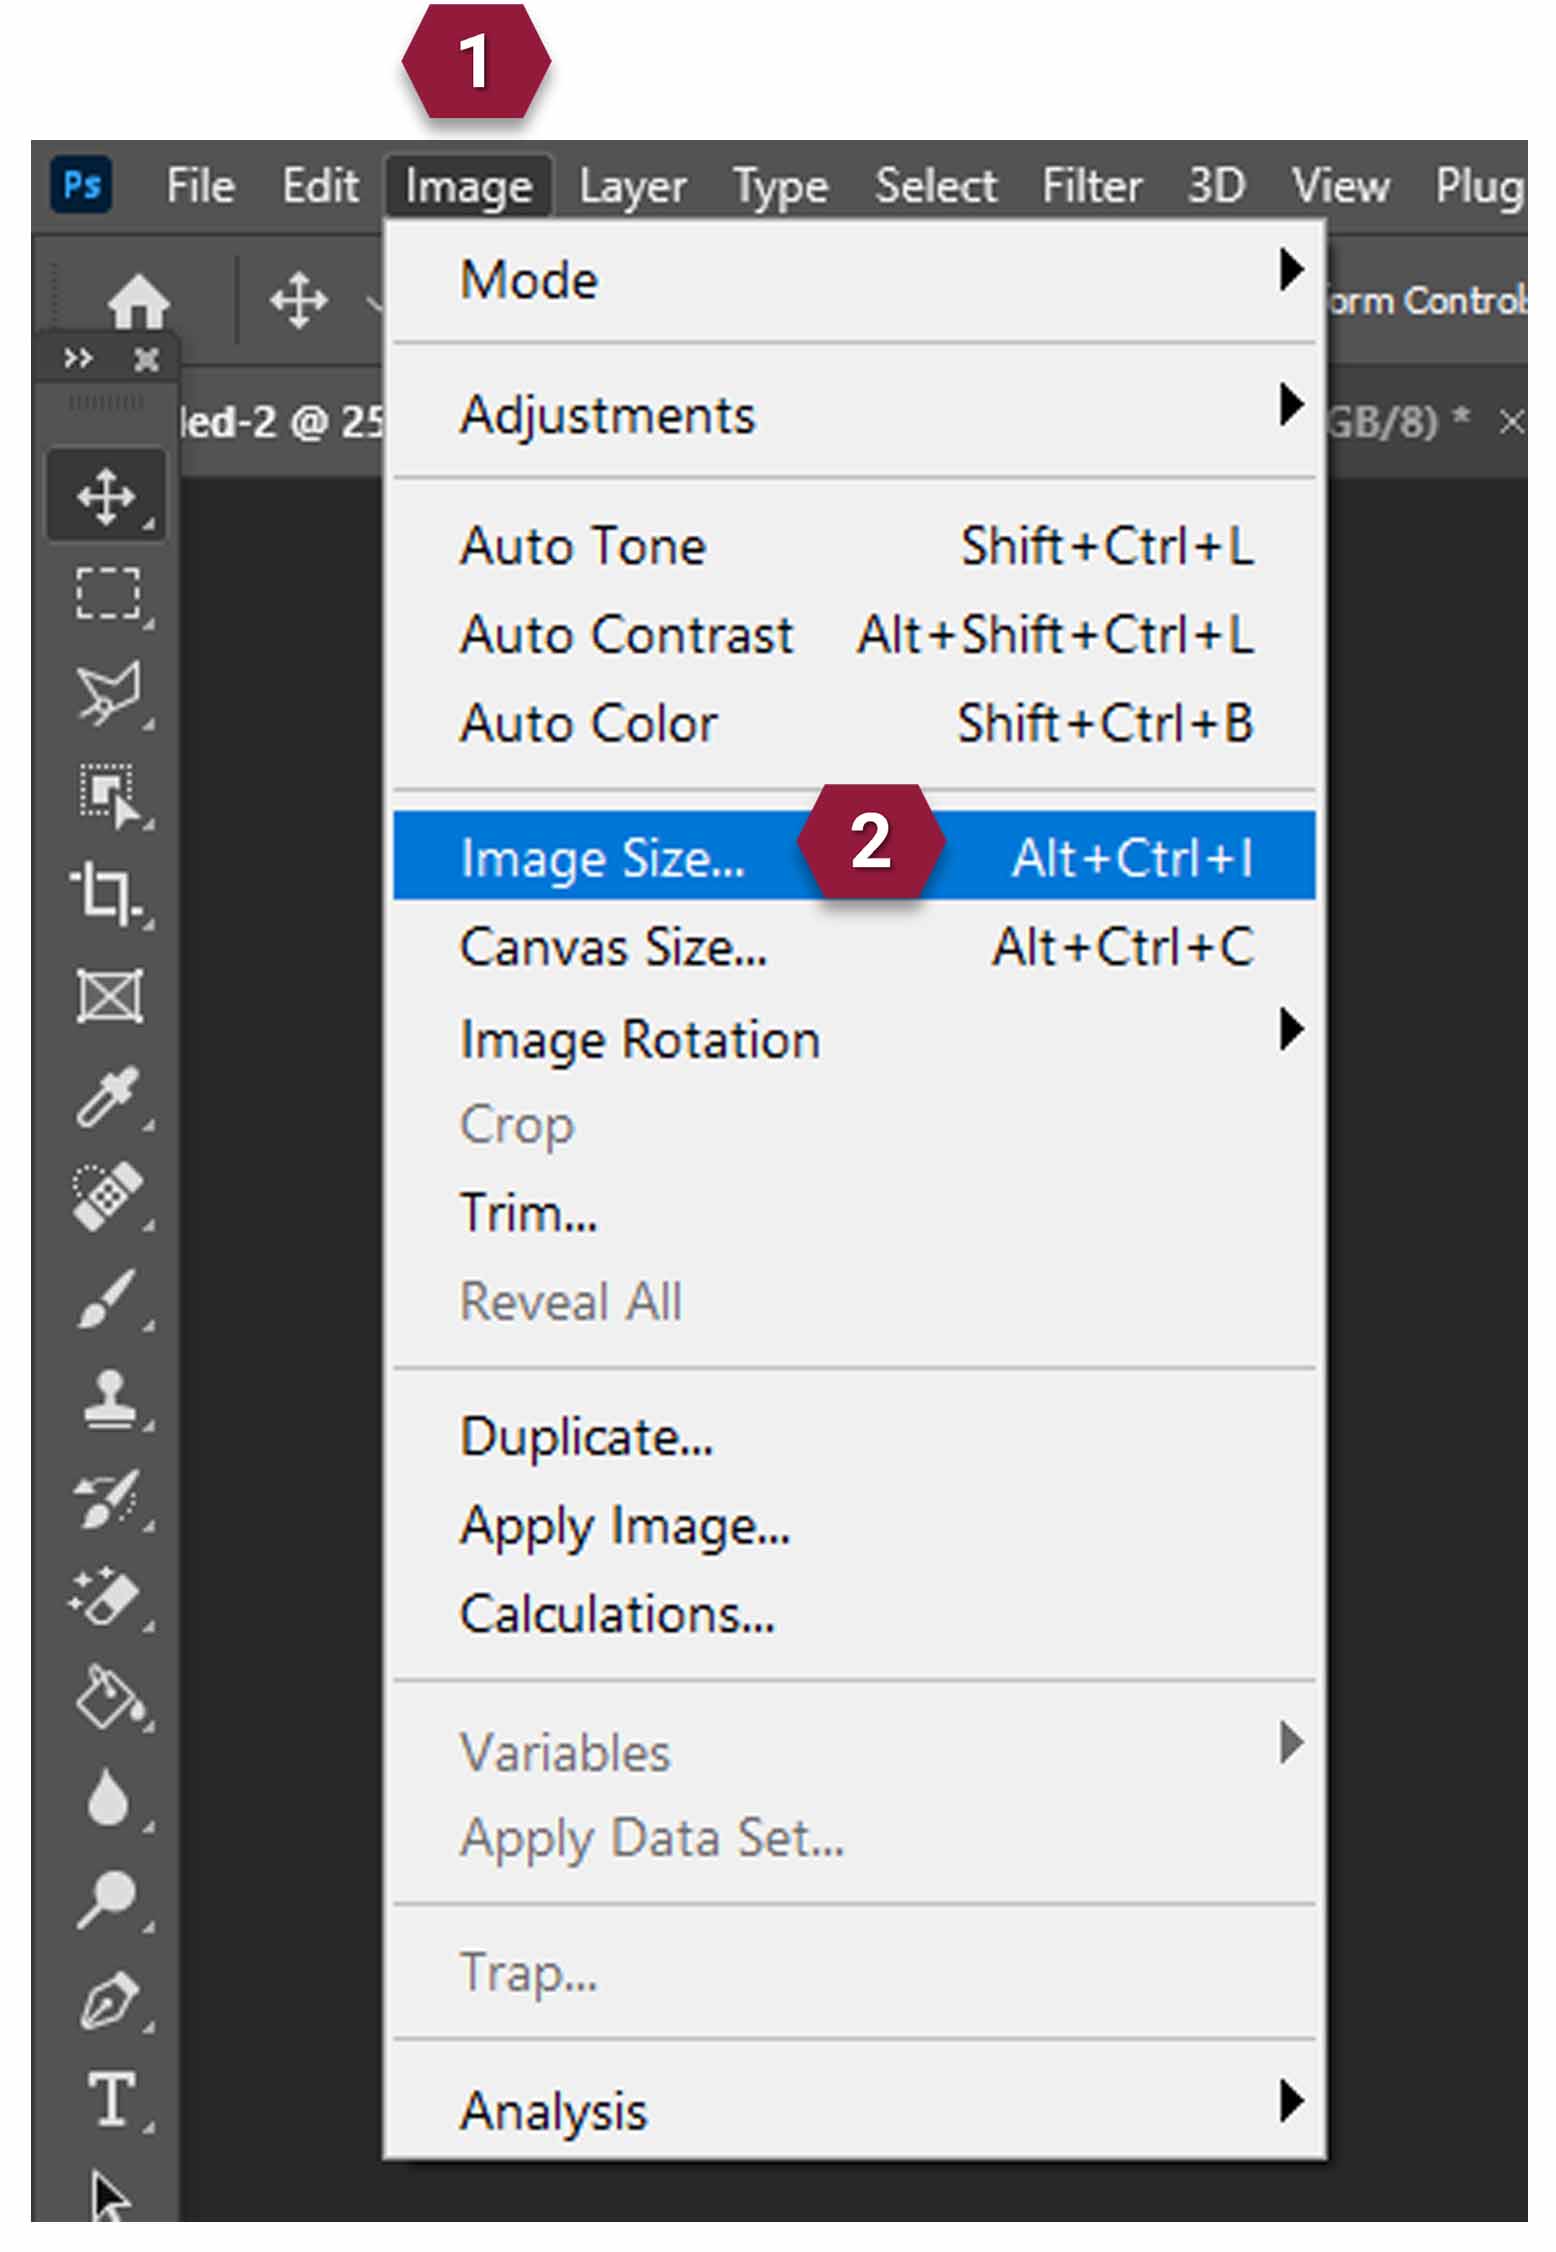
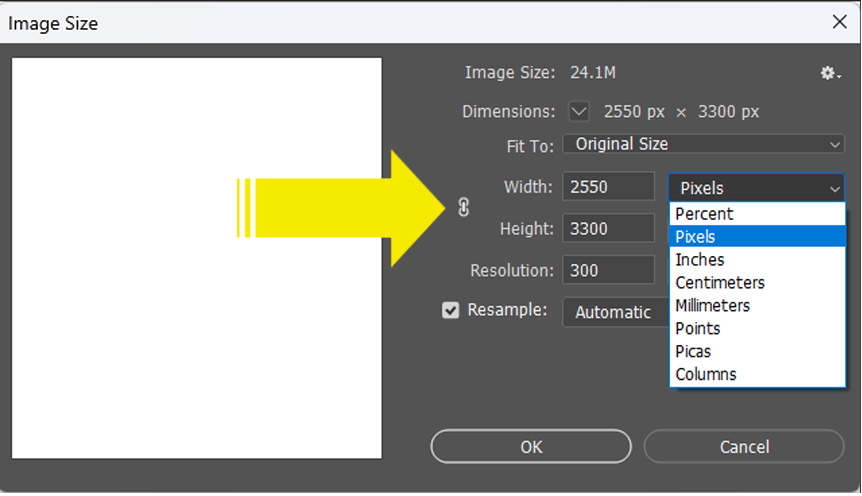
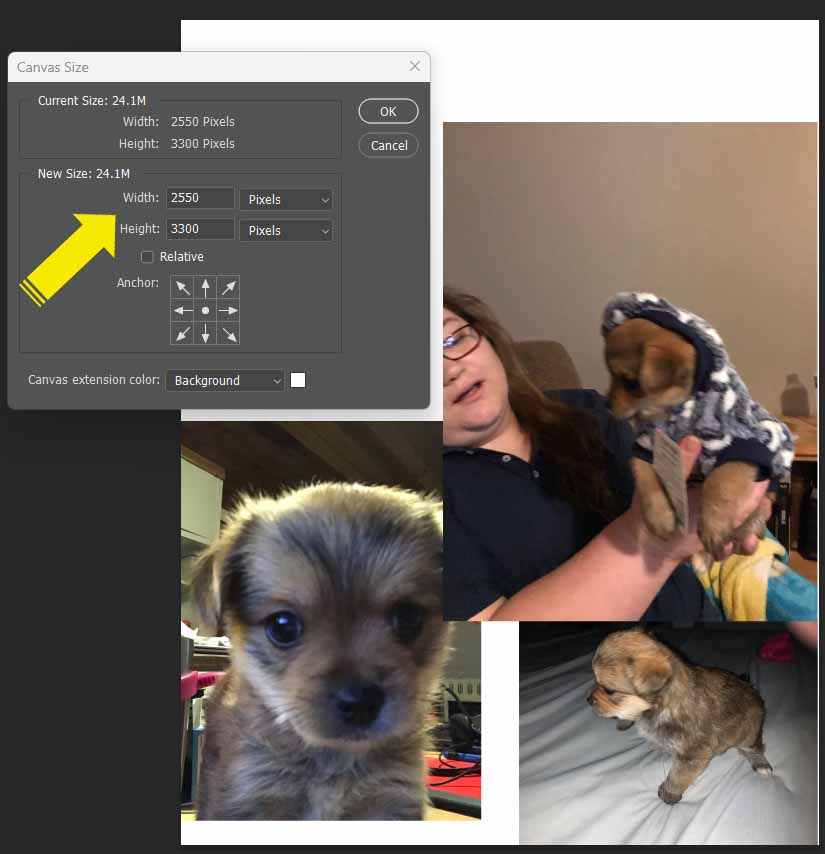
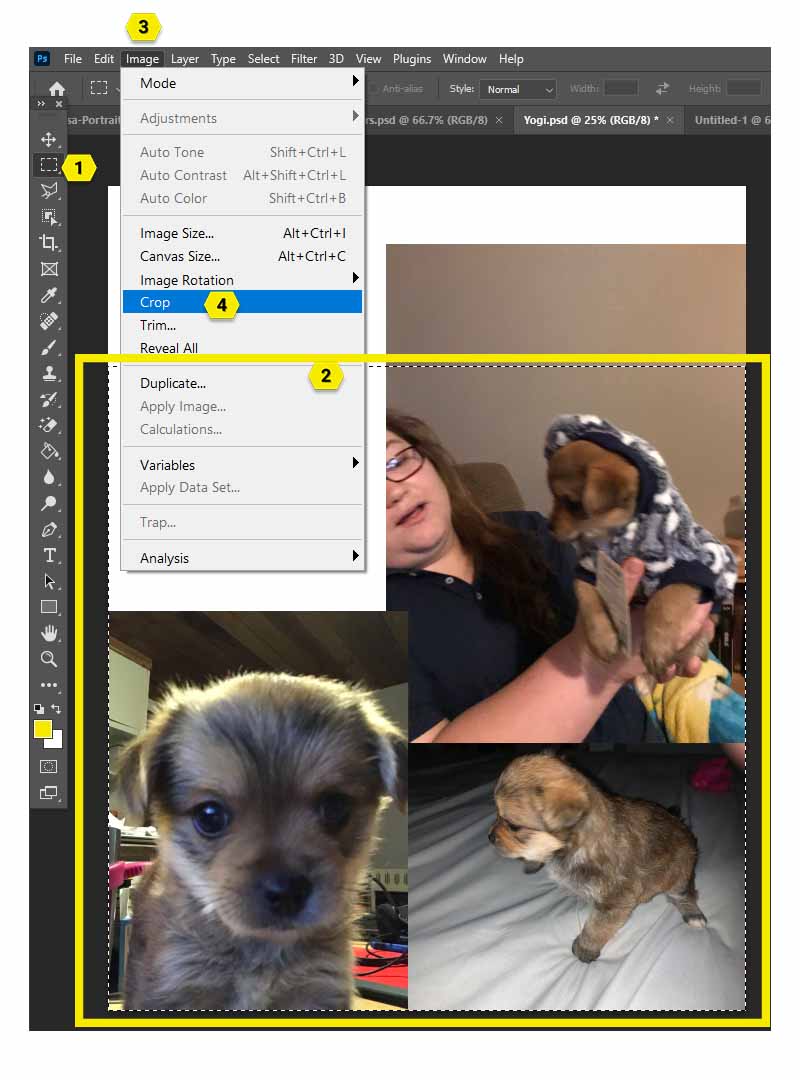
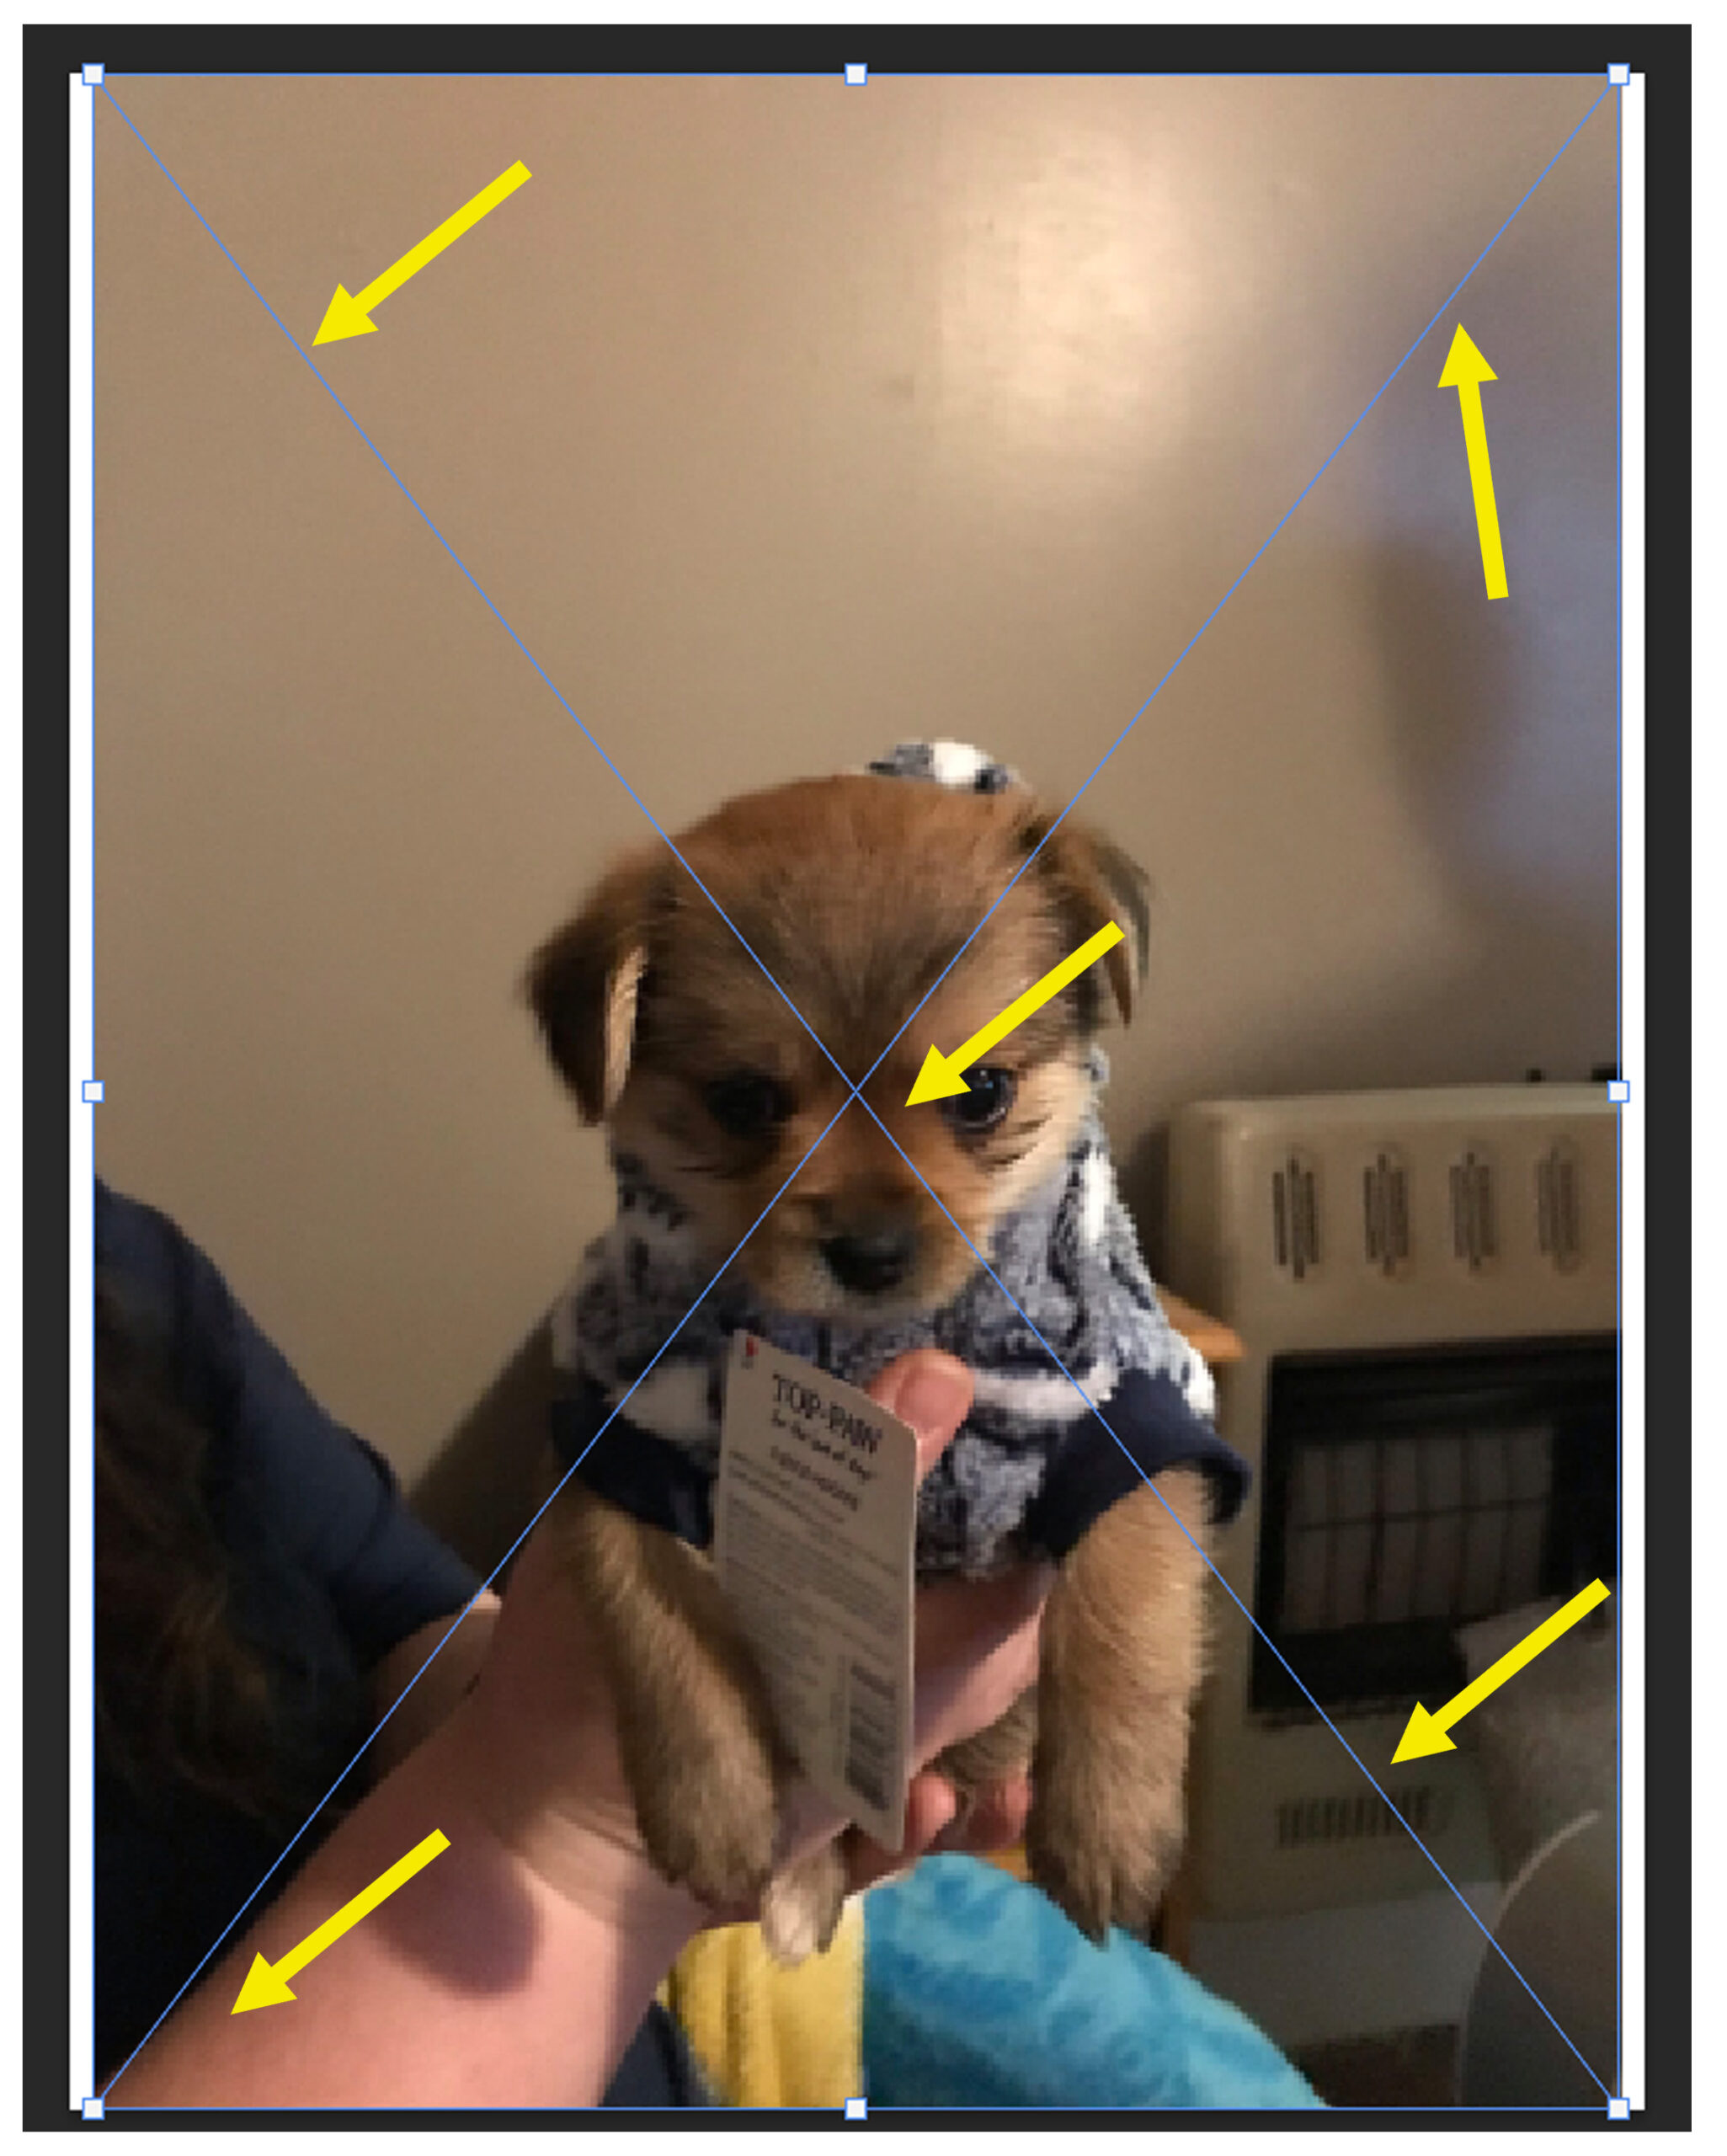
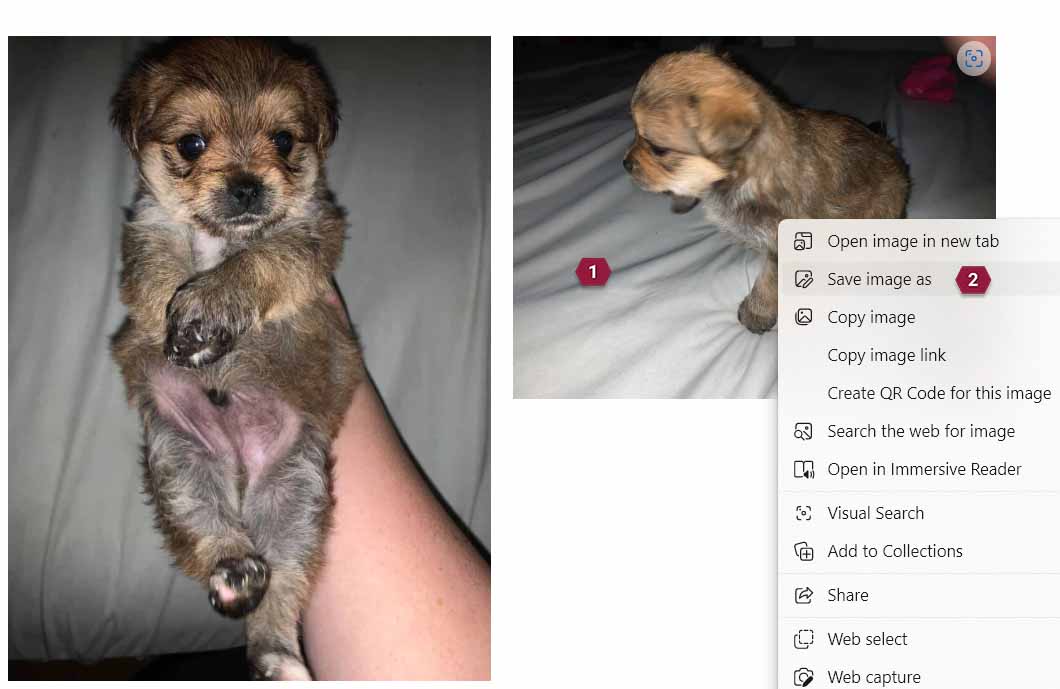
YouTube Video Just Show Me How How can I resize a bunch of photos to the same size at one time? This
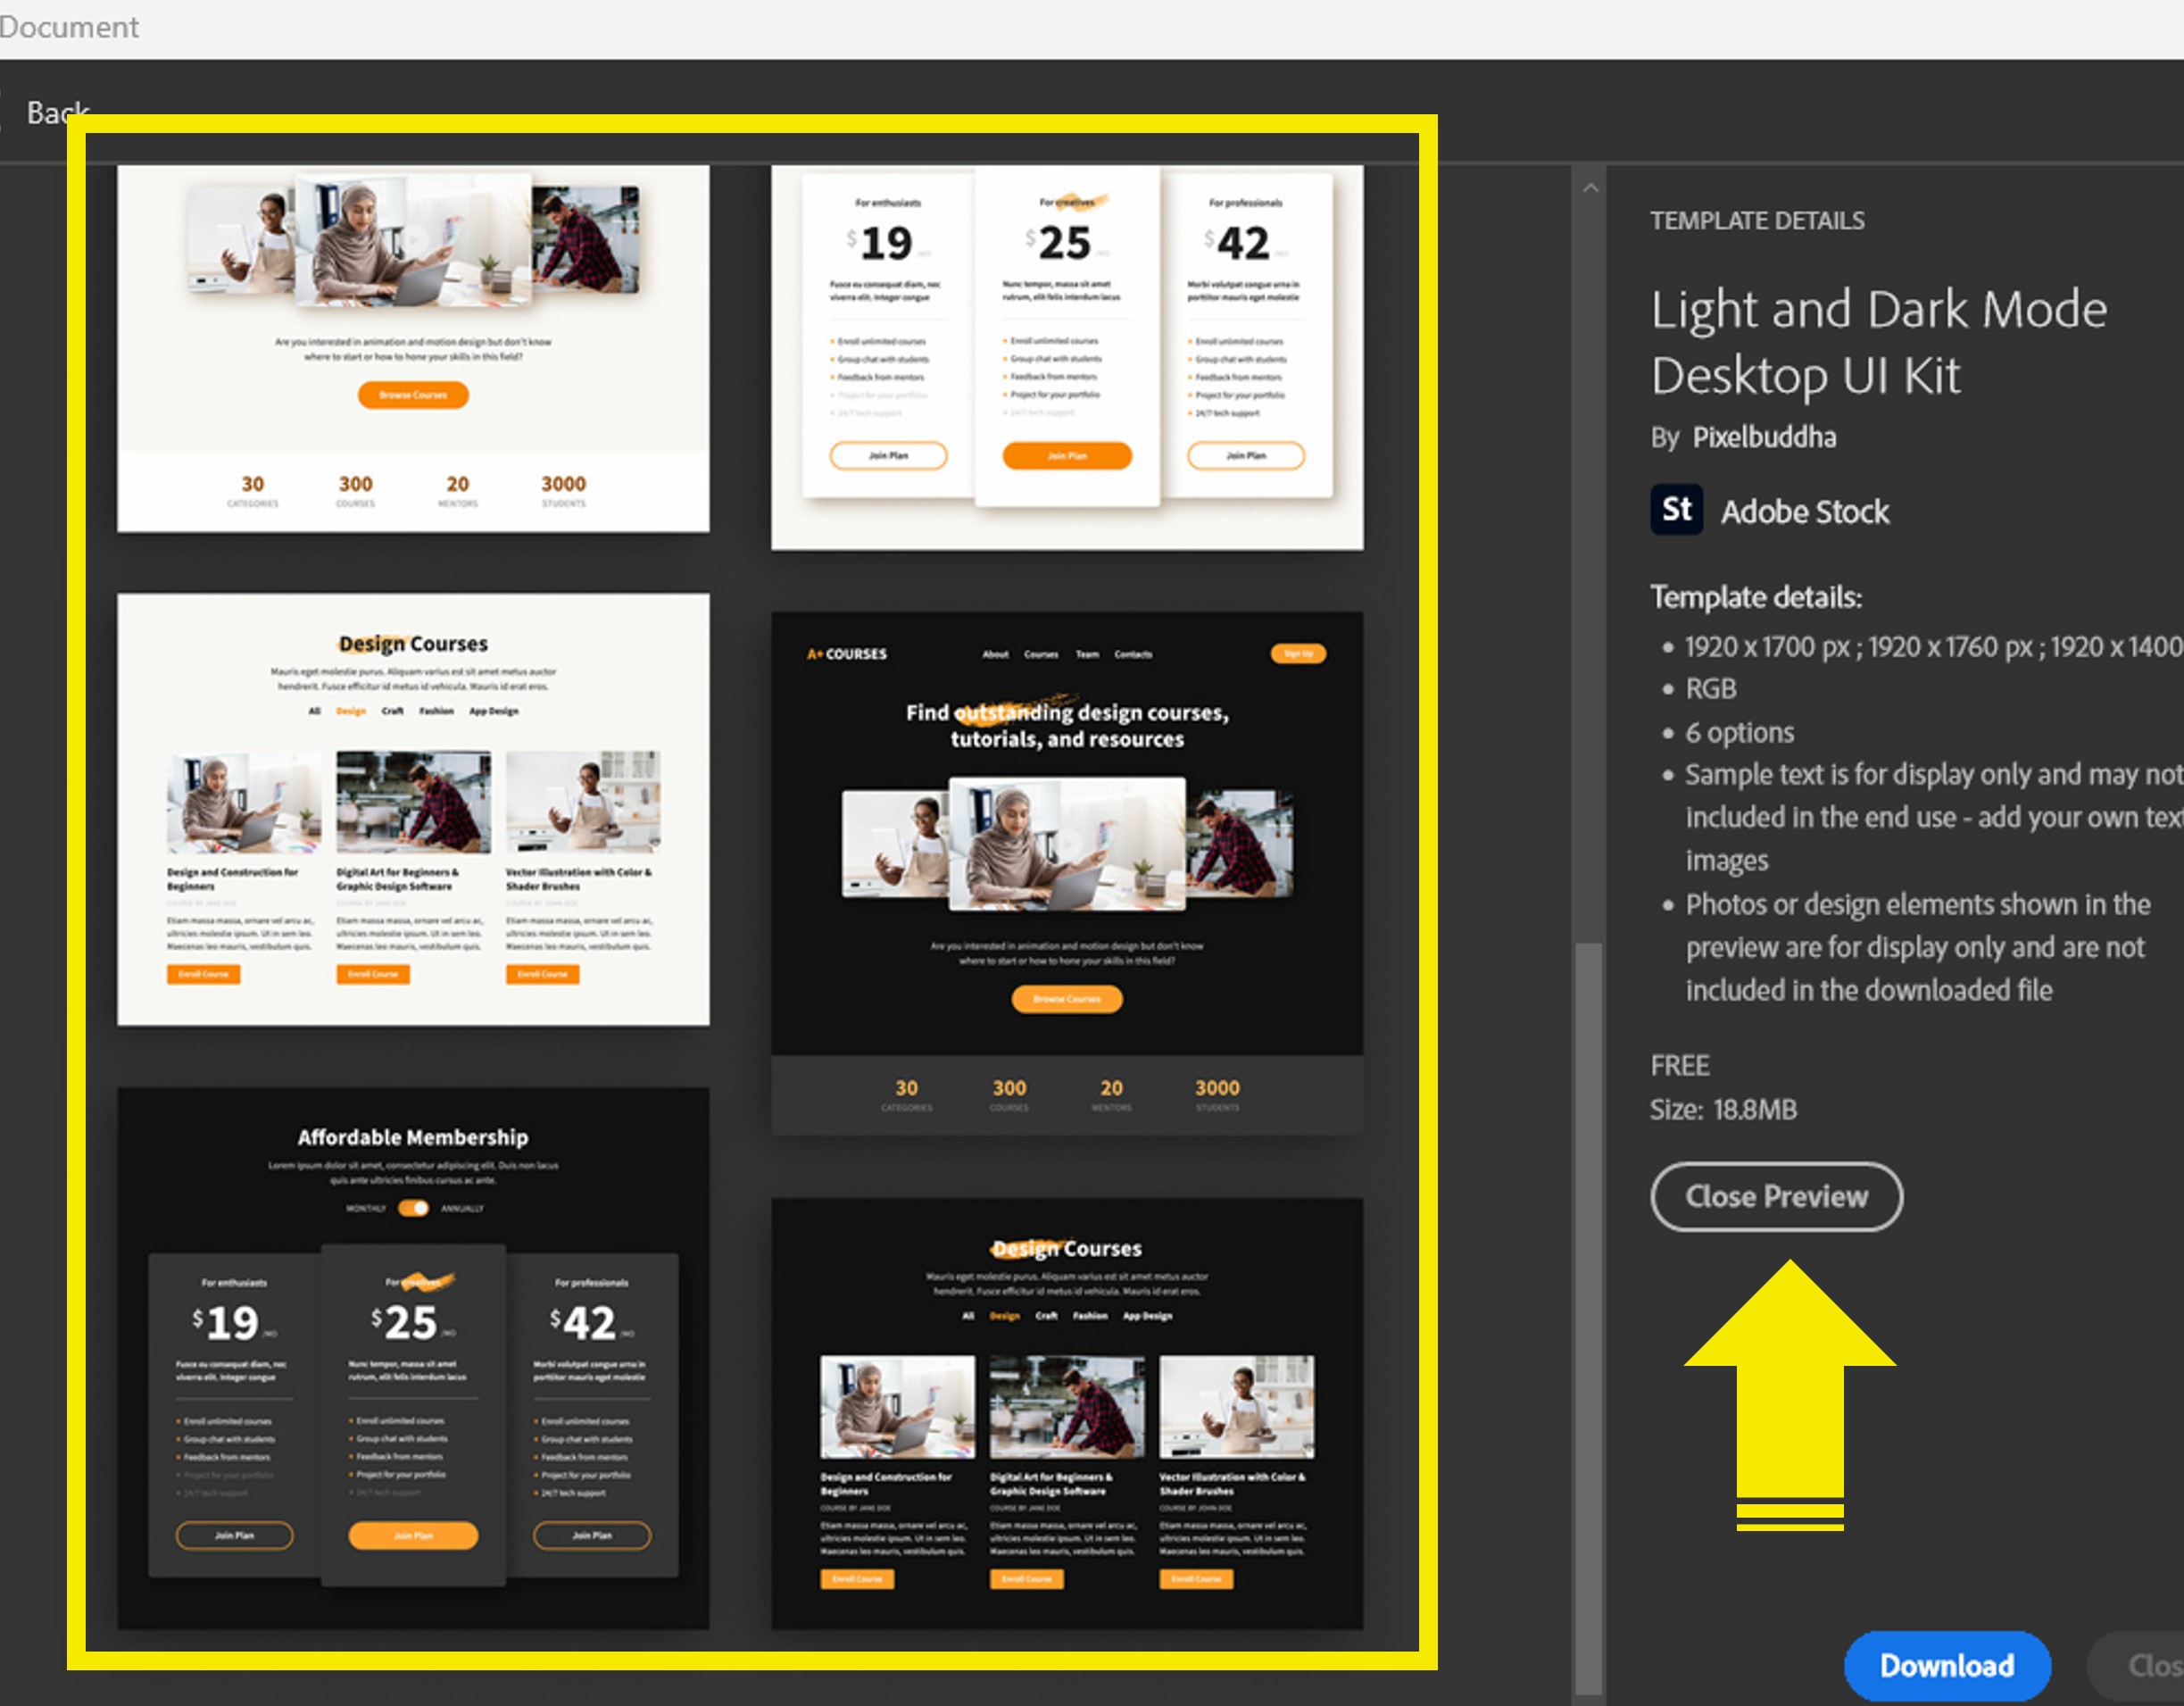
Use the Master Slide to create reusable section to make a standard storyboard to use on every style of course. Once you have a blank template you can perfect your own style and add consistency to your process.
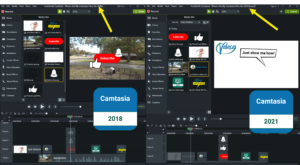
Camtasia didn’t save your project files in one location before version 2020. Now they do but the folders are different. Let me show you where your files are.
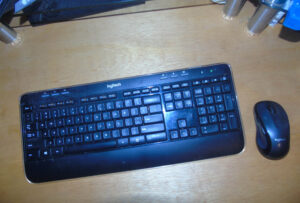
When choosing a new keyboard and mouse it is always better to get a matched set. They work better together, and they only use up one USB port.
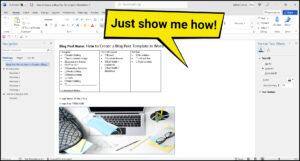
How do I make a template in Word? A Word Template is created by setting up a document, with your own personally
One Response
Your blog has quickly become my go-to destination for inspiration. I yearn for more!